Tuesday, April 30, 2013

22 Steps to a Really Easy Baby Blanket

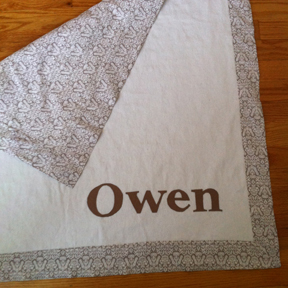
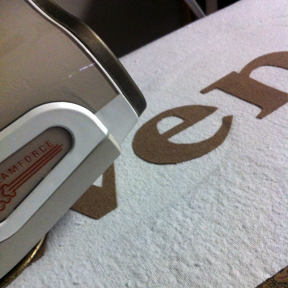
Twins seem to be happening so often lately.  We have friends with twins who are about 4 months younger than Daniel and now Jason's step-sister just gave birth to a set of boy/girl twins a few weeks ago.  Time is a little tight around our house lately, so I came up with a simple, personal project to make for the new step-niece & nephew-to-be.  I made each baby a small blanket and appliqued their name onto the bottom corner of each.  It was a quick project and they turned out really cute.  


Twins


Tutorial

Supplies:

30"x30" of white flannel for blanket top
40"x40" of cotton print for backing
1/4 yard of brown flannel for letters
Lightweight fusible web
Thread to match backing and letter fabric


Instructions:

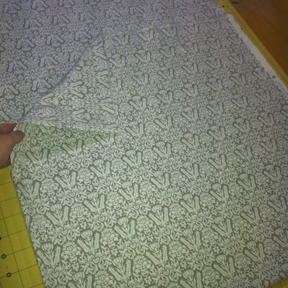
1: Cut backing fabric to 40"x40".  
01
Note: If you are using a directional print for the backing fabric of your blankets be aware that the direction will not be the same on all sides of the front.  The top & bottom will be going in the same direction, but the sides will be going in the opposite direction.  If this is going to bother you, consider using a non-directional print.   

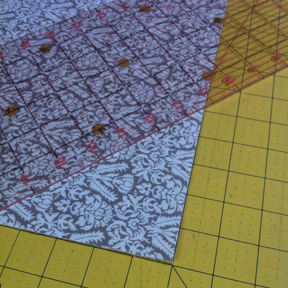
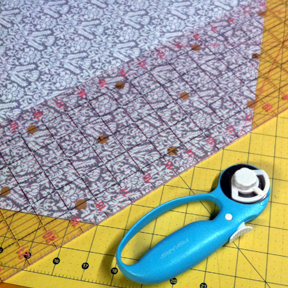
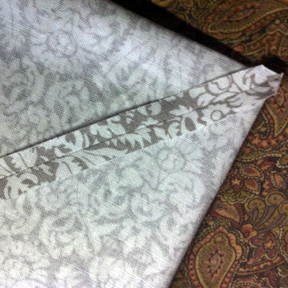
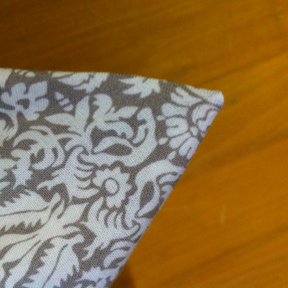
2: Measure 5" from each corner of backing fabric.  Cut corners off at a 45 degree angle.

02

03


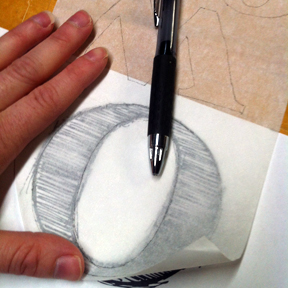
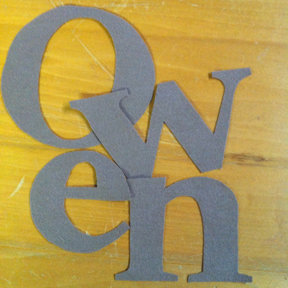
3: Use your computer to print off the letters you plan to applique in the font of your choice.  I picked a font that had minimal "swirlies", but still had some serifs.  
Note: My font had a hatching pattern within the letters that I chose to ignore.  
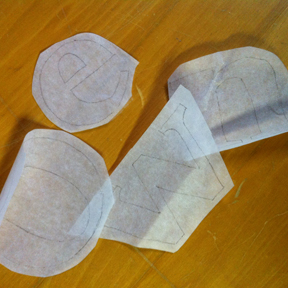
Using a ballpoint pen, trace an outline of the letters onto the glue side of the fusible web.  No need to trace backwards, they will come out the right way when you trace with the letters going the correct direction.

04


4: Cut the letters out leaving a little margin around the pen marks.

05


5: Iron the letter fabric making sure to remove any wrinkles.  

06


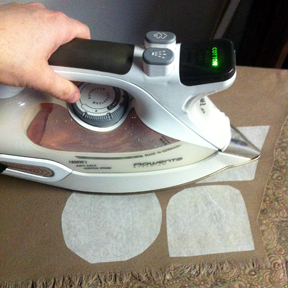
6. Iron the glue side of the fusible web (with letters marked on it) to the wrong side of the letter fabric.  Make sure to follow the manufacturer's directions.

07


08


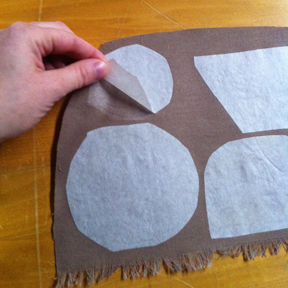
7: Peel the paper backing off the fusible web.

09

The ink from the pen is sandwiched between the glue of the fusible web and the wrong side of the letter fabric.

10


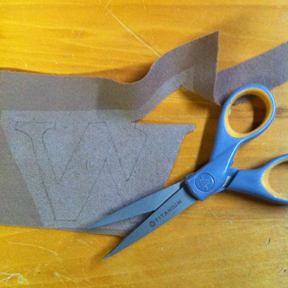
8:Cut the letters out with sharp scissors right along the pen line.

11


12


9: Cut the top fabric to a 30"x30" square.

13


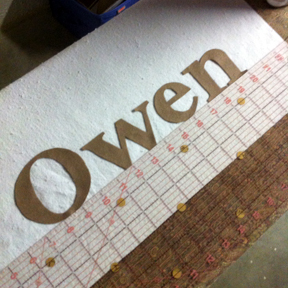
10: Use your acrylic ruler to put the letters in the right space on the top fabric.  Make sure the letters are spaced how you want them, straight across, and with glue side down.

14


11: Following the manufacturer's instructions, iron the letters in place.

15


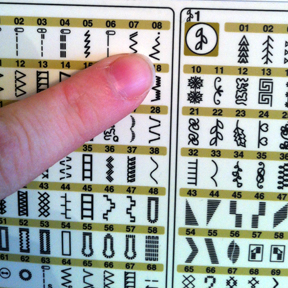
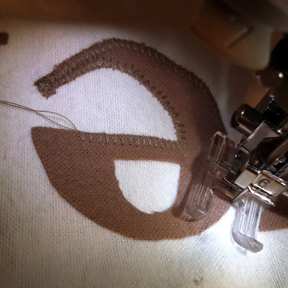
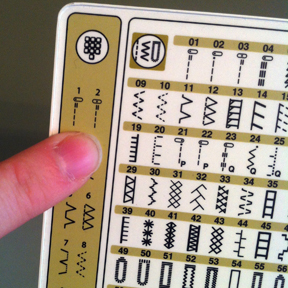
12:  Set your sewing machine to a small zig-zag stitch.  (You could also choose a blanket or applique stitch, but I prefer the look of the zig-zag.)

16

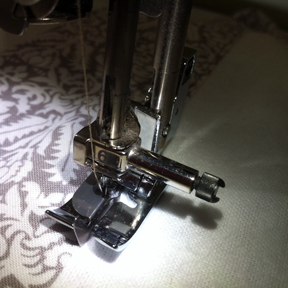
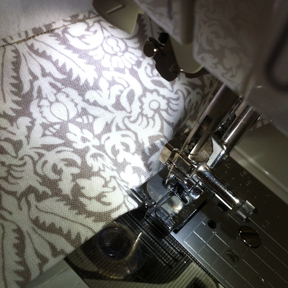
I used this clear, open-toed foot to make it easier for me to see EXACTLY where my needle was going to hit the fabric.

17

These are the settings I used to applique.  Stitch width: 3.2.  Stitch length: 1.4.

18

Trace around the raw edges of each letter.  I like the outside edge of the stitch to hit at EXACTLY the same edge as the fabric.  I feel it helps the stitches blend into the design.  Make sure you take it pretty slow, so your stitches are nice and even.  When you come to a corner, stop, pivot, and start sewing again.

19


13:  Make sure the top fabric is still square.  It can stretch and shift with the applique.  Trim the edges if necessary to square it up.

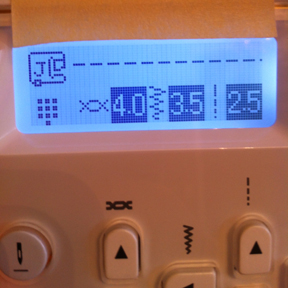
14: Change your machine setting to a straight stitch.

20

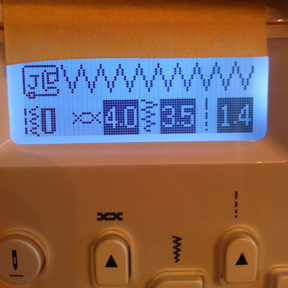
I used these settings: Stitch width: 3.5.  Stitch length: 2.5.

21

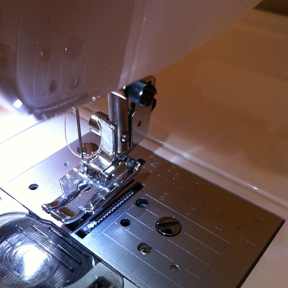
I changed my presser foot to my 1/4" foot.

22


15: Line up one edge of the top fabric with one edge of the back fabric, wrong sides together.  

Note: If you are using a directional fabric, make sure it is aligned the right way before you sew it.  
The top fabric should be aligned with a straight side  between the angled corners of the backing fabric.  Stitch together with a 1/4" seam allowance, starting and stopping 1/4" from the corners of the top fabric.

16: Repeat for each of the 4 sides leaving a 6-7" opening for turning in one side. 


23


17: Press seams towards to the backing fabric.  

18: Match up two of the raw edges of the corner seams.  Stitch using a 1/4" seam allowance.  Clip corners.  Repeat for other 3 corners.  Press seams open.
24

19: Turn blanket through opening.

25

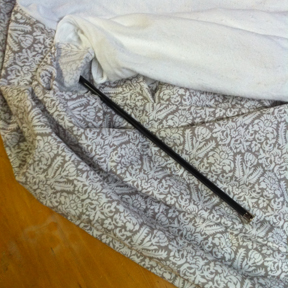
Use a turning tool (my favorite is a metal knitting needle) to poke corners out.

26


20: Press the blanket so that the corners form the outer edge of the blanket.  

21: Topstitch about 1/8" away from the inside edge of the border.  Make sure the opening that you left for turning is closed by the topstitching.

27


22: Topstitch about 1/8" away from the outer edge of the blanket.  
28
Enjoy your new blanket!
Ava


Owen

Thursday, March 7, 2013

Craftsy!

Have you discovered Craftsy yet?  I've been taking a few classes on this site lately and am learning so much.

The first class I took was Angela Walter's Machine Quilting Negative Space.  Angela is a fabulous quilter who's designs really blow me away.  It was awesome to spend some time just watching her quilt.  I learned a few new designs and used one of them to quilt this quilt.

Just finished the quilting on this. Oooo! My shoulders are tired!!!

This quilt will be shown at quilt market in Fabri-Quilt's booth.  I am in love with this quilt.  I really don't want to give it back to them.

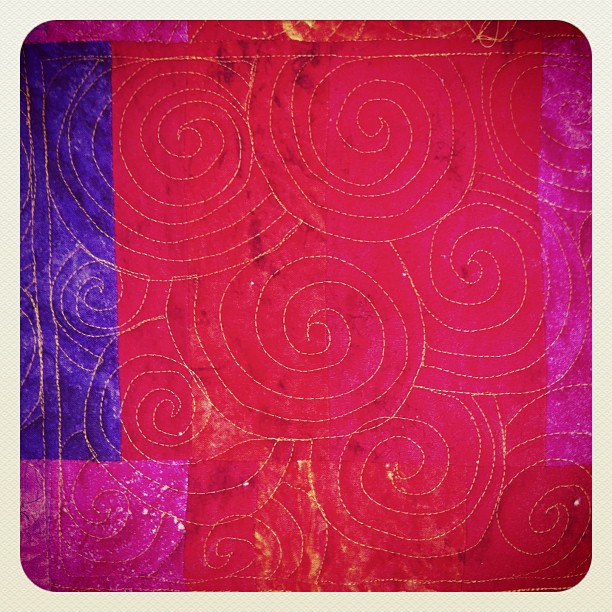
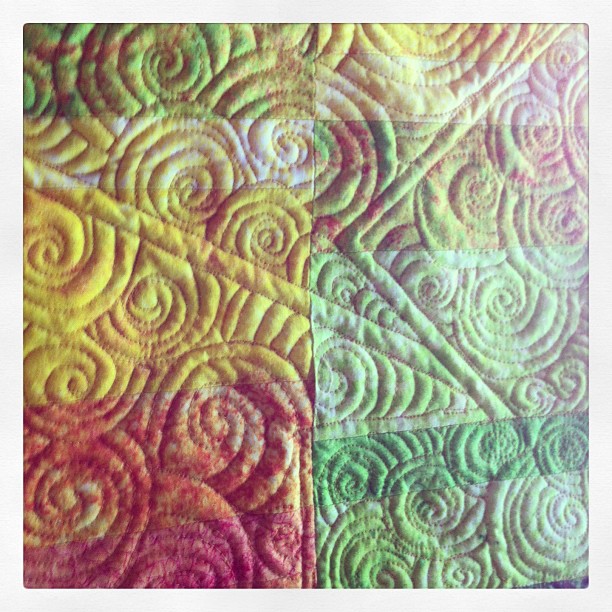
Close up of the quilting.

You can see the quilting I did on it a little better in this photo.  I used Angela's tiling method and filled them with the swirl.

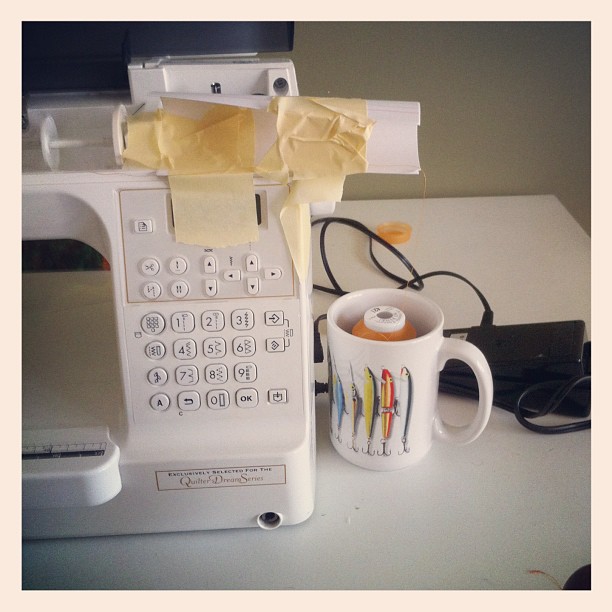
My ghetto rigged large spool adapter.

Angela recommends the So Fine 50 weight thread.  I decided to try it on this quilt.  As far as I can tell, though, it only comes in the large cones.  During my trolling on pinterest, I found somebody who had shown using a coffee cup as a thread holder.  I tried that, but the thread kept getting stuck and needed more of a guide.  I used a few index cards and some masking tape to make a better track for the thread to follow.  It worked like a charm!

I'm currently taking Leah Day's Free Motion Quilting A Sampler class.  When I first started experimenting with free motion quilting, Leah Day's website is where I went to find ideas on what kind of designs to use.  I'm not very far into this class, but I've already learned so much about how to baste a quilt using a new method for securing the backing to a table.  And who would have thought to starch a quilt before basting?!  That never occurred to me, but makes perfect sense!  I can't wait to keep watching and see what else I learn.

Are you a fan of modern quilting?  Craftsy is offering the lectures from QuiltCon for free!

There are several mini courses you can take to test out the site.  There is a block of the month available.  It really is a neat way to learn new skills.

Thursday, February 28, 2013

Snow Hike

Just a little something silly and fun to maybe warm your day...

We went on a hike in the woods in the snow.  It was awesome.  


Remember the mei tai I wrote about recently?  That's what Daniel rode in. 


Our little man is such a ham.  Look at him making a silly face there in the corner.  


Fist bump!  Little dude is awesome.  Our hike was a lot of fun.  The snow made it something different than our normal hike.  

-Jessica

Tuesday, February 26, 2013

QuiltNon

Have you heard about QuiltCon?  It's surely awesome and I'm jealous of all my quilting friends who got to go to Austin to partake.

Some of us from the KCMQG who didn't get to go got together to sew downtown and called it QuiltNon.  

Take that #QuiltCon! We have scraps! #QuiltNon

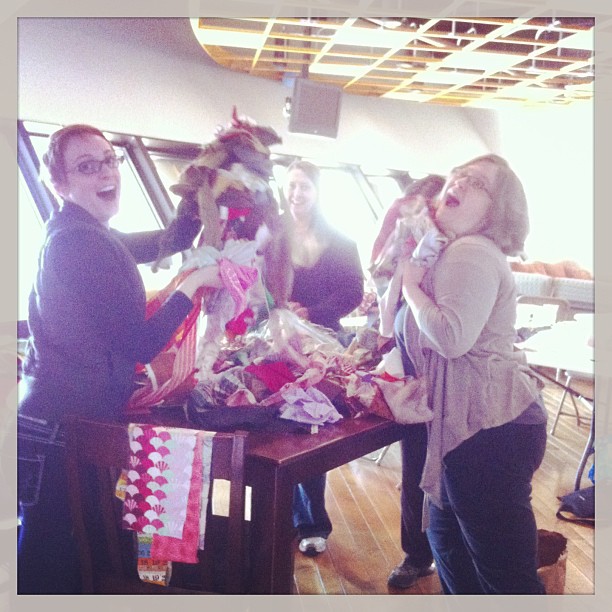
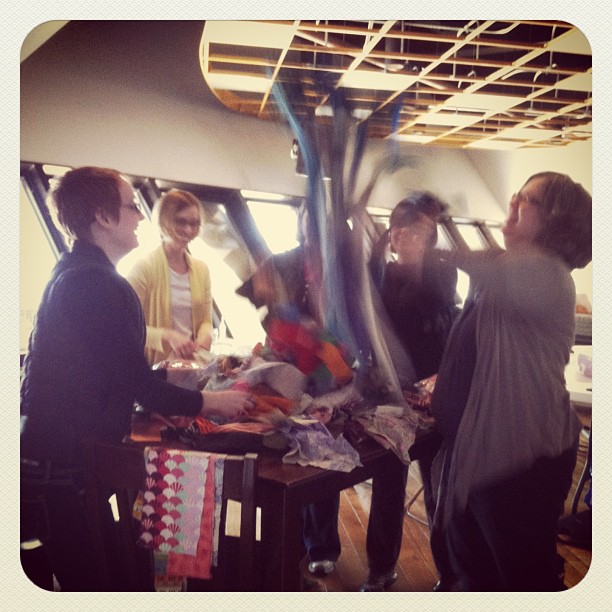
There were lots of scraps brought to share.  By lots, I mean probably multiple buckets worth.  

Fabric is flying! #quiltnon

They may have been tossed around a little.  

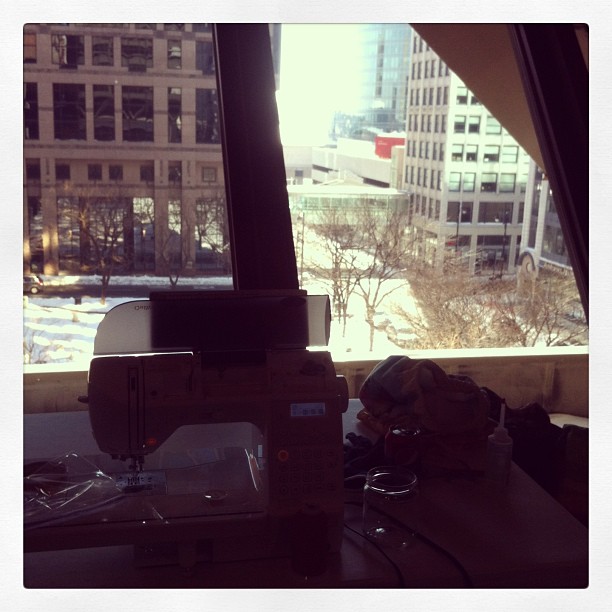
#quiltnon Sewing downtown with a really cool view.

That's where I sewed!  Nice view, huh?

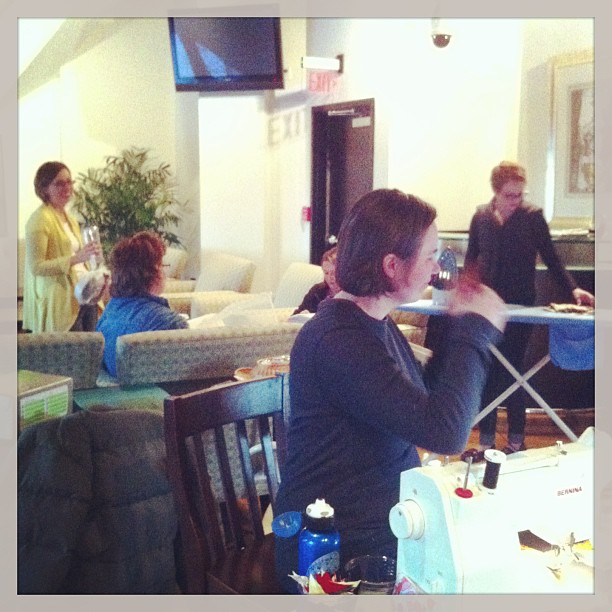
Still rockin' #quiltnon

And these are some of the girls who were there with me.  Thanks to Lesley for arranging it.  We had fun.  :)

-Jessica

Sunday, February 24, 2013

Stay tuned...

I've been thinking. Lately I have spent a great deal of time thinking about blogging. I delight in the idea of blogging with my daughter. Like Jessica, I make stuff. Lots of stuff. I am hesitant to blog because quite frankly, I lack some computer skills. But I am ready to attempt this. After all, I am the gramma hen and I have stuff to cluck about. So stayed tuned..I plan to blog in the near future.

Rainbow Bright Quilt

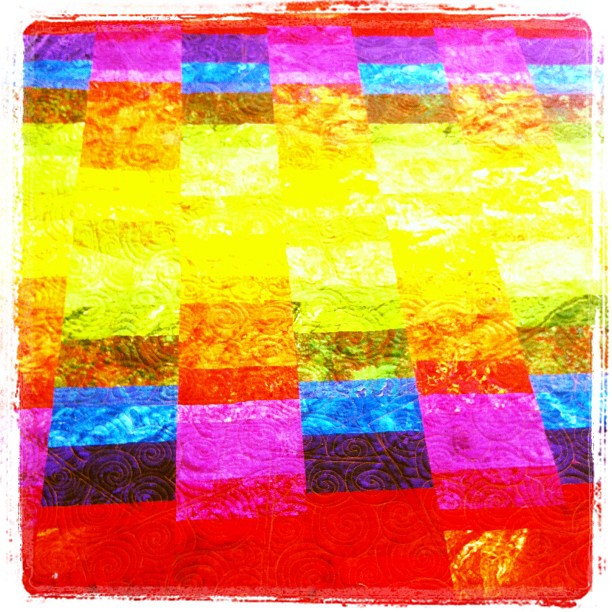
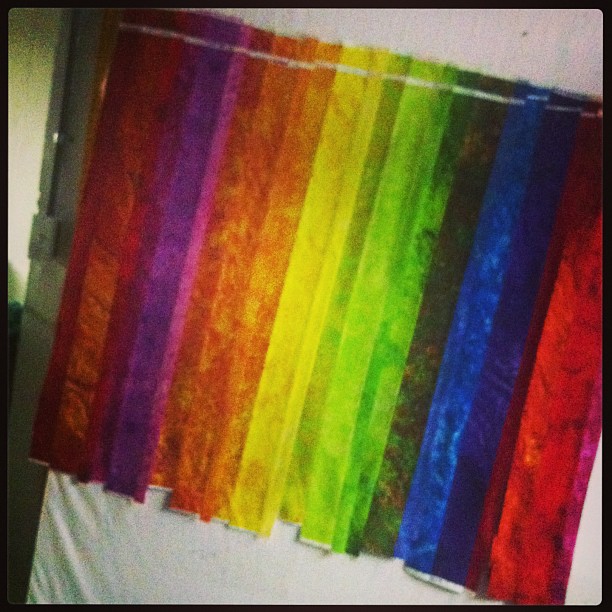
I'm not 100% sold on that title, but it does kind of suit this quilt.  Feel like looking at some in-progress shots?  I'm not finished with it yet, so you can't see a completed photo.  

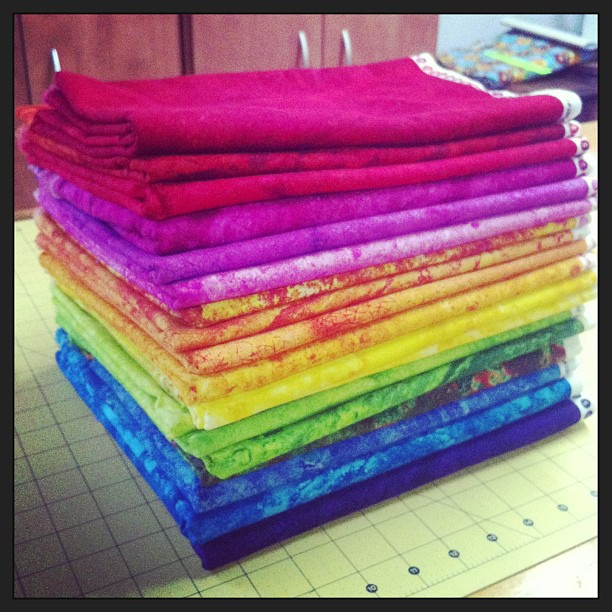
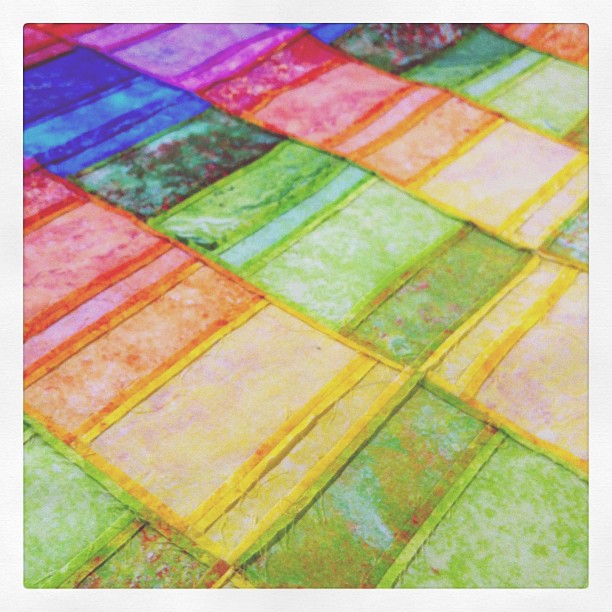
I love this fabric line by Ro Gregg for Fabri-Quilt.  It's called Marblehead in Global Brights.  

Yum.

I figured out how to strip piece this quilt.  It went smoothly.  

I'm loving it!!!  First part of strip piecing finished. :)

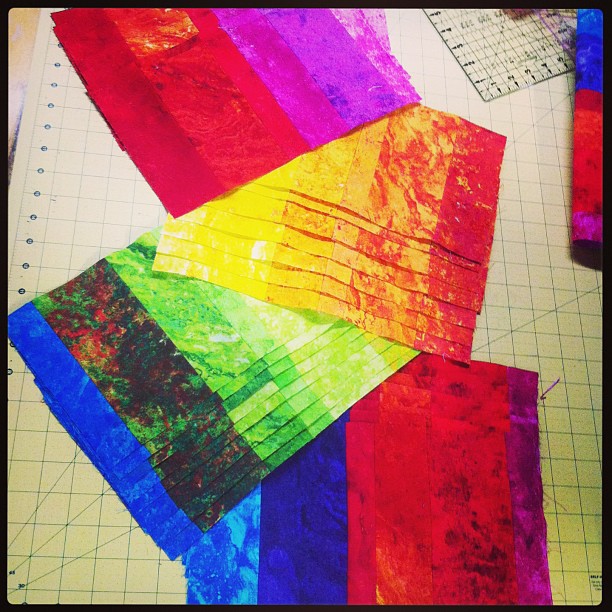
I cut the strips into blocks.

Blocks cut!
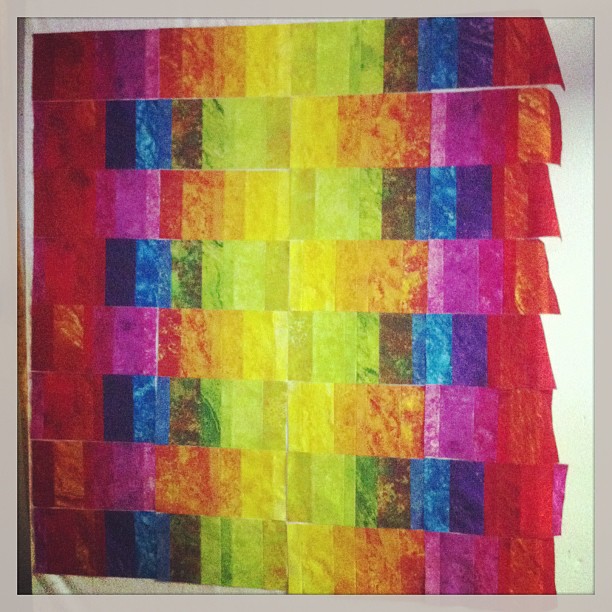
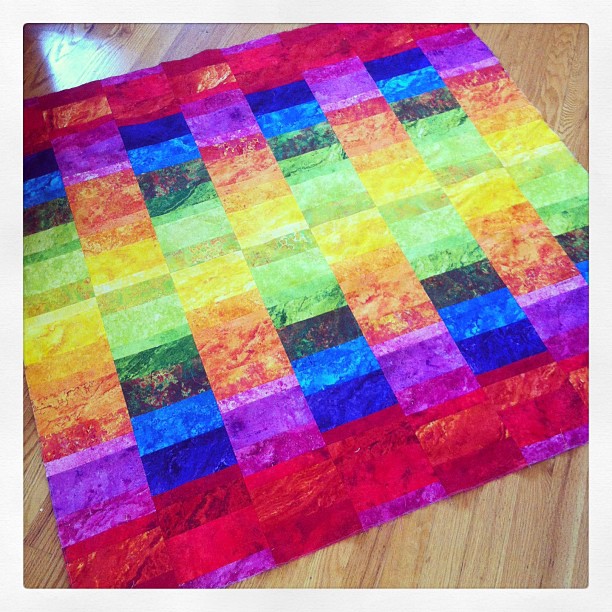
Assembled into bigger blocks.  From there I ended up making it into quadrants before finally sewing it all together.  

Aren't design walls fun?

Don't you just love it?  Also, I'm in love with instagram photos.  

I might be in love.

I am also having a new love affair with pressing my seams open.  I think this might be a permanent thing.  We seem to be hitting it off.  

Yes, I am in love. I dig having my seams pressed open.

I took Angela Walter's Machine Quilting Negative Space class on Craftsy and learned this tile and swirls design.  I'm liking it.  Also loving So Fine #50 thread by Superior Threads.  Angela is right, it does melt into the quilt.  

Progress. #quiltnon

So, that's what I've been working on.  How about you?

-Jessica

Monday, February 18, 2013

I made a mei tai and I love it a lot.

Do you ever make something and wonder how you ever got along without it?  That's how I feel about my mei tai.  I use this thing probably at least twice a week these days.  I love wearing my little guy.  When he was teeny tiny I loved the moby wrap.  As he got bigger and heavier and the weather got hotter, I loved it less and less.  I feel the moby stretches too much with a bigger baby.  He got so heavy I felt like he ended up around my knees after wearing him a while and the wrap stretching.  And it gets so HOT!  Not fun in a super hot summer.  
After the moby got less and less comfortable, I made a simple sling out of some fabric I had laying around.  I loved the look of it.  It was easy to make.  I probably would have really loved it if I had made it before Daniel wanted to sit up and see what was happening in the world.  I followed this tutorial I found on pinterest.  It's been almost a year since I made it, but I vaguely remember it taking roughly an hour to do.  


I still keep it in Jason's car just in case Daniel is in the mood where he needs to be held and we need to stop by the grocery or something.  Even though I don't love this one, it is nice to have it available just in case.


The photo above is the first time Daniel was ever in the mei tai I made.  We really love this carrier. It's a simple design and I find it very comfortable to wear.  


If I'm by myself, the front carry is the easiest and most comfortable.  I can also get him into a hip carry by myself, but it spreads the weight to one side and my shoulder usually ends up pretty sore from carrying all of the little man's weight in the one place.  It is nice to put him on my hip if I need to use my hand and would like to keep his reach a little further away from what I'm working on.  The boy has monkey arms!

He really does love to be strapped to me.  

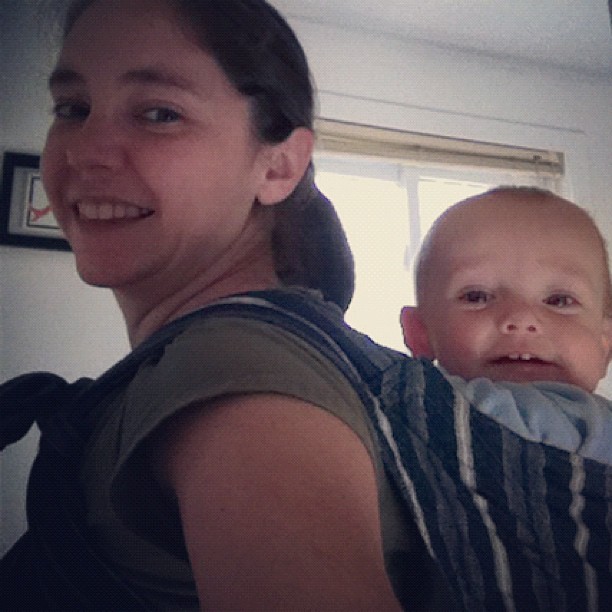
Baby boy loves riding along on my back. Mei tai might be the most used thing I've ever made.
The fabric I used was an awesome striped denim somebody had given my mom.  It's so soft and breathes nicely.  It's sturdy.  And I think it has kind of a hippie aesthetic to it that I think suits it's purpose.  

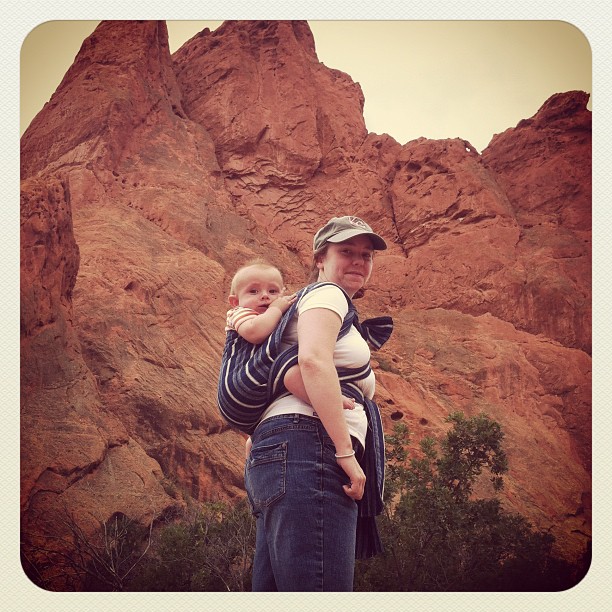
Garden of the gods
We didn't even take a stroller on our Colorado vacation.  We brought my mei tai and a backpack carrier that is more comfortable for my husband and just carried him up every mountain we climbed. 

The back carry is the most comfortable for me to have him in, but it's the most difficult to get set up.  Daniel is so wiggly and I'm not confident enough to do it without somebody helping me make sure he isn't going to take a dive off my back onto the pavement, so I really only do it when I have a helper.  

I think Daniel likes this carry the best, too.  He can see out over my shoulder to look at what's happening in the world.  He can see what I'm doing from my angle, too, instead of having to crane his neck around to scope things out.  

Garden of the gods


Works well as a teether, too.  Popped 2 new teeth on this trip!


The tutorial I used was from pinterest.  It calls for 2 1/4 yards of fabric.  I only had 2 yards of the denim, so my straps are a little shorter than ideal.  I'm not a huge person, so it works for me.  I also didn't have quite enough fabric to make the hood in the tutorial.  I do see the benefit of it (see photo above) and think sometimes it could come in handy.  

Babywearers, don't worry.  My tying has gotten much better and tighter and Daniel doesn't sag quite as much as in the photo above.  I'm now able to tie him on so his butt sits just right and we're all comfortable.

Also, Happy 30th birthday to my fabulous husband, Jason.  I love you!

-Jessica