Tutorial
Supplies:
30"x30" of white flannel for blanket top40"x40" of cotton print for backing
1/4 yard of brown flannel for letters
Lightweight fusible web
Thread to match backing and letter fabric
Instructions:
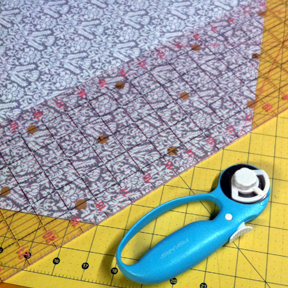
1: Cut backing fabric to 40"x40".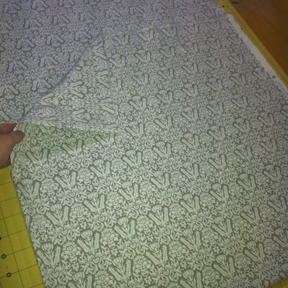
Note: If you are using a directional print for the backing fabric of your blankets be aware that the direction will not be the same on all sides of the front. The top & bottom will be going in the same direction, but the sides will be going in the opposite direction. If this is going to bother you, consider using a non-directional print.
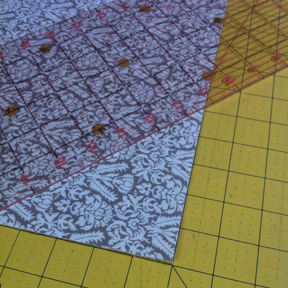
2: Measure 5" from each corner of backing fabric. Cut corners off at a 45 degree angle.
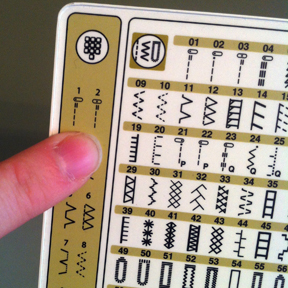
3: Use your computer to print off the letters you plan to applique in the font of your choice. I picked a font that had minimal "swirlies", but still had some serifs.
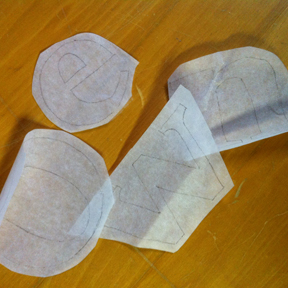
Note: My font had a hatching pattern within the letters that I chose to ignore.Using a ballpoint pen, trace an outline of the letters onto the glue side of the fusible web. No need to trace backwards, they will come out the right way when you trace with the letters going the correct direction.

4: Cut the letters out leaving a little margin around the pen marks.
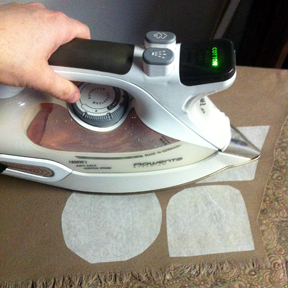
5: Iron the letter fabric making sure to remove any wrinkles.

6. Iron the glue side of the fusible web (with letters marked on it) to the wrong side of the letter fabric. Make sure to follow the manufacturer's directions.

7: Peel the paper backing off the fusible web.
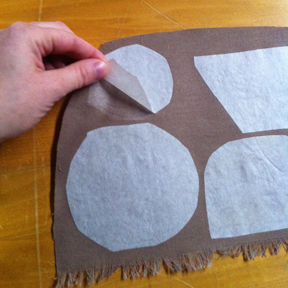
The ink from the pen is sandwiched between the glue of the fusible web and the wrong side of the letter fabric.

8:Cut the letters out with sharp scissors right along the pen line.
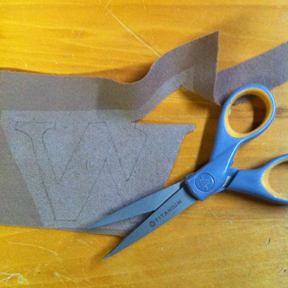
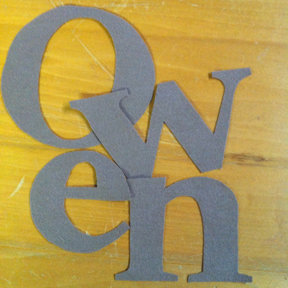
9: Cut the top fabric to a 30"x30" square.

10: Use your acrylic ruler to put the letters in the right space on the top fabric. Make sure the letters are spaced how you want them, straight across, and with glue side down.
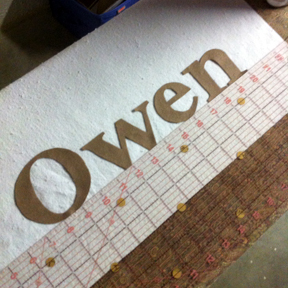
11: Following the manufacturer's instructions, iron the letters in place.

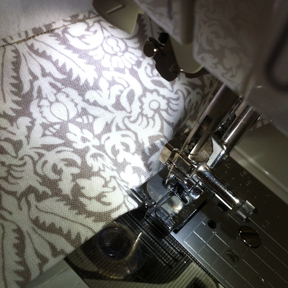
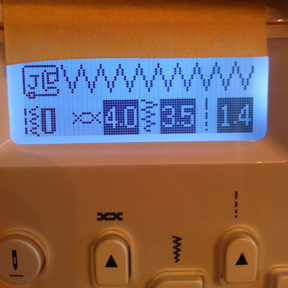
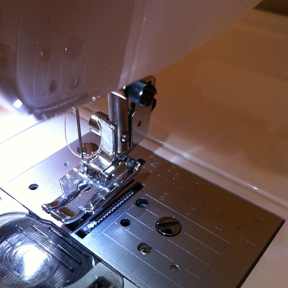
12: Set your sewing machine to a small zig-zag stitch. (You could also choose a blanket or applique stitch, but I prefer the look of the zig-zag.)
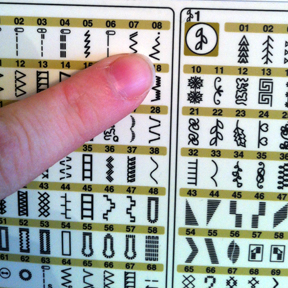
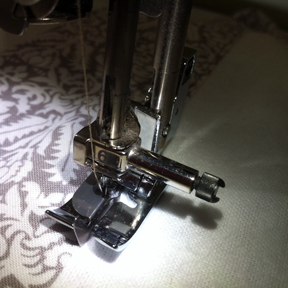
I used this clear, open-toed foot to make it easier for me to see EXACTLY where my needle was going to hit the fabric.

These are the settings I used to applique. Stitch width: 3.2. Stitch length: 1.4.
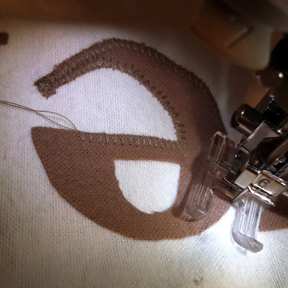
Trace around the raw edges of each letter. I like the outside edge of the stitch to hit at EXACTLY the same edge as the fabric. I feel it helps the stitches blend into the design. Make sure you take it pretty slow, so your stitches are nice and even. When you come to a corner, stop, pivot, and start sewing again.
13: Make sure the top fabric is still square. It can stretch and shift with the applique. Trim the edges if necessary to square it up.
14: Change your machine setting to a straight stitch.
I used these settings: Stitch width: 3.5. Stitch length: 2.5.
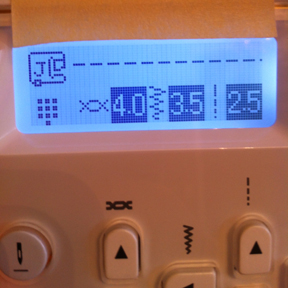
I changed my presser foot to my 1/4" foot.
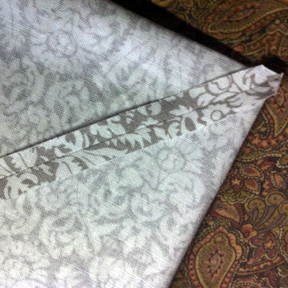
15: Line up one edge of the top fabric with one edge of the back fabric, wrong sides together.
Note: If you are using a directional fabric, make sure it is aligned the right way before you sew it.
The top fabric should be aligned with a straight side between the angled corners of the backing fabric. Stitch together with a 1/4" seam allowance, starting and stopping 1/4" from the corners of the top fabric.
16: Repeat for each of the 4 sides leaving a 6-7" opening for turning in one side.

17: Press seams towards to the backing fabric.
18: Match up two of the raw edges of the corner seams. Stitch using a 1/4" seam allowance. Clip corners. Repeat for other 3 corners. Press seams open.
19: Turn blanket through opening.
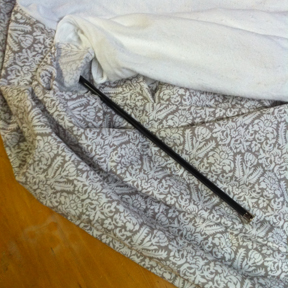
Use a turning tool (my favorite is a metal knitting needle) to poke corners out.
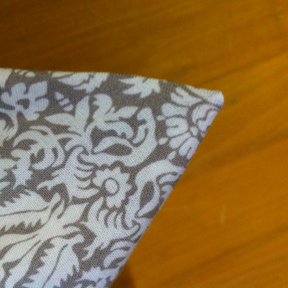
20: Press the blanket so that the corners form the outer edge of the blanket.
21: Topstitch about 1/8" away from the inside edge of the border. Make sure the opening that you left for turning is closed by the topstitching.
22: Topstitch about 1/8" away from the outer edge of the blanket.
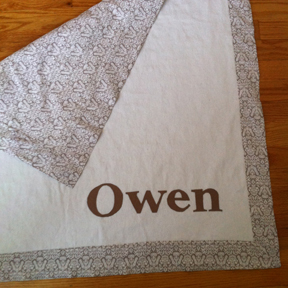
Enjoy your new blanket!