That's right. I'm now teaching! Daniel and I were in our local JoAnn's a few weeks ago shopping for some fabric to bind a quilt, when the Education Coordinator asked if I quilted often. Well... yes.
She then asked if I'd be interested in teaching since their previous teacher just called and quit. Well, I suppose I could give it a shot...
Now imagine having a job interview for a job you hadn't considered before 3 minutes ago while keeping a 17 month old boy who is due for his nap any second from destroying the entire store. Yes, you imagined that correctly... it was not the way I would have planned for a job interview to go, but I guess it worked out.
I've taught two introductory quilting classes so far and it's gone well! It's actually kind of fun. I definitely have learned a lot. Who knew that teaching newbies to use a rotary cutter was an hour long process. I did not see that lesson coming my way. :)
I thought I'd mention it on here in case anyone in the Kansas City area reads our blog and would like to come take a class from me. I have two new classes coming up soon.
 First one is Quilting 201: Hexagon Pieced Pillow. It's a really fun project where you'll learn how to machine piece hexagons and do a free motion stippling quilting pattern. It's a 2 part class that runs July 2 & July 9, 6-9pm.
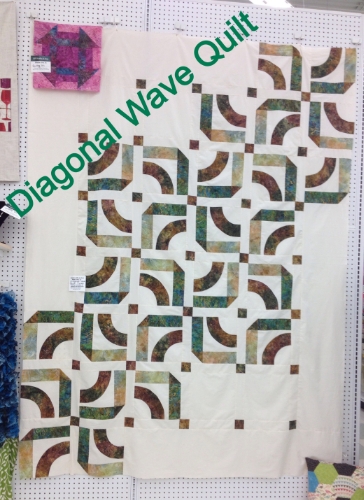 Second class this Diagonal Wave class. It's a 4 part class that runs July 3, 10, 17, & 24, 6-9pm.
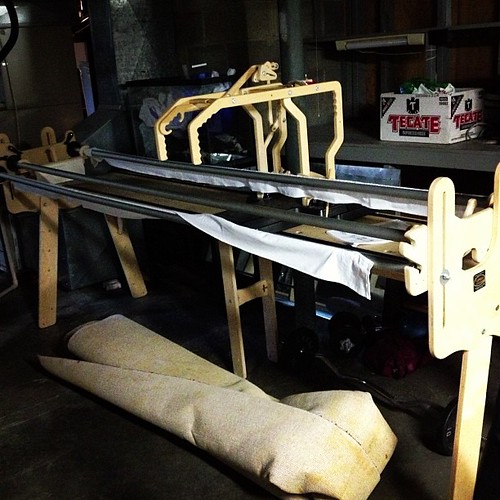
Please excuse the terrible photos, I forgot to get good ones of them before I brought the projects in for samples.
-Jessica
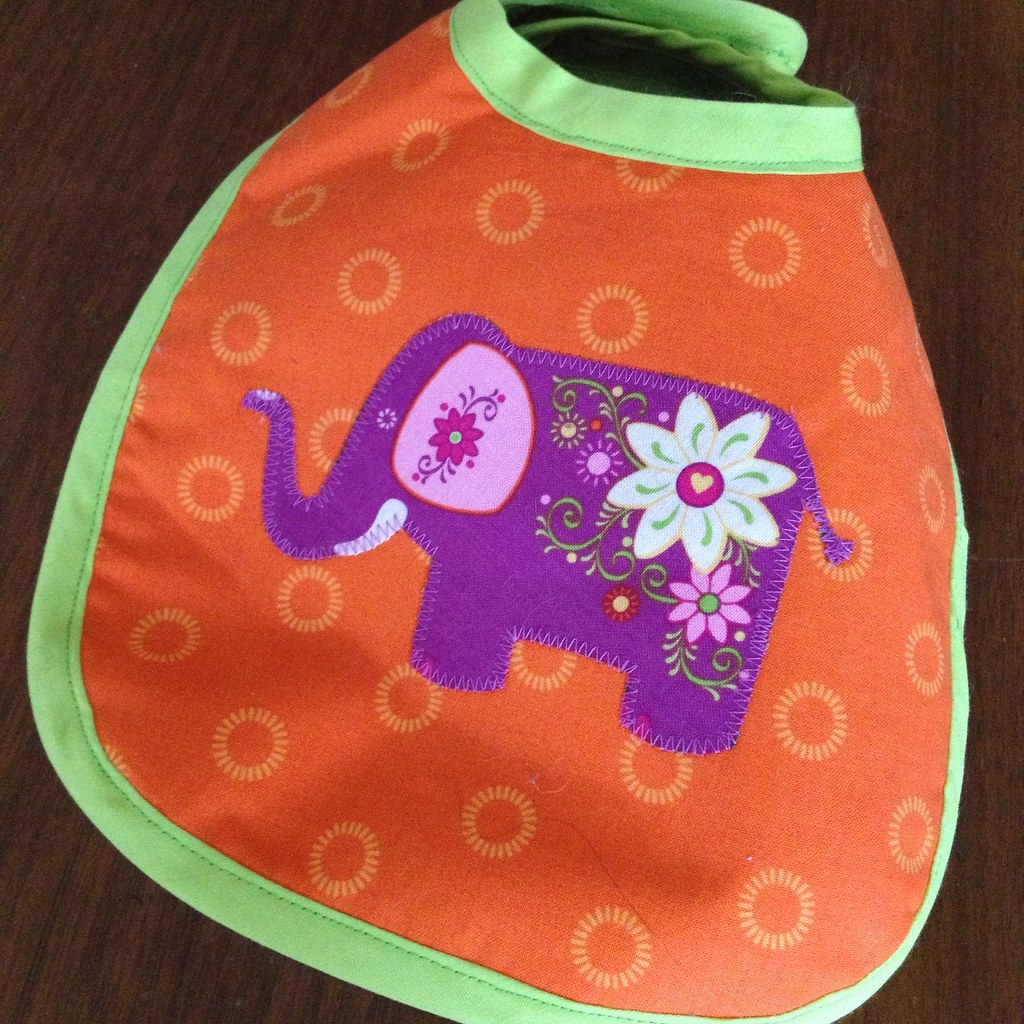
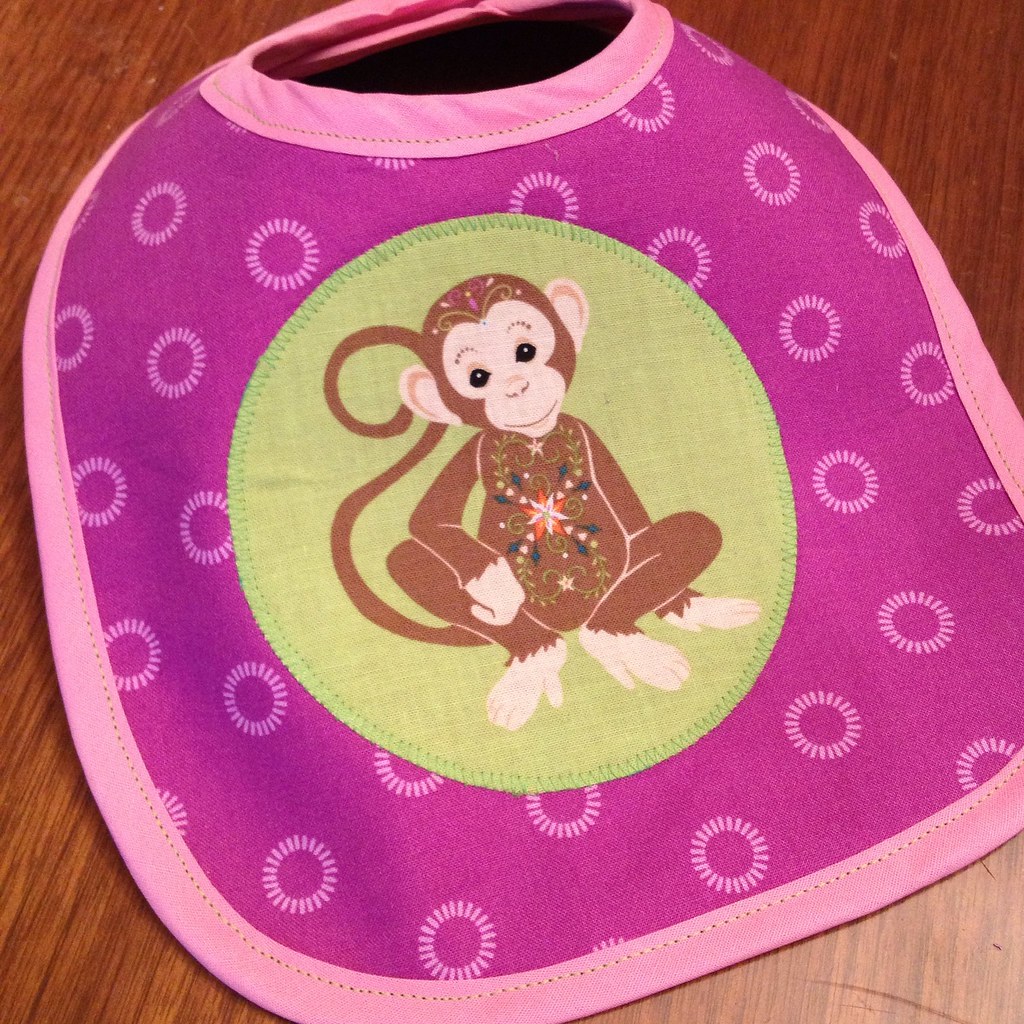
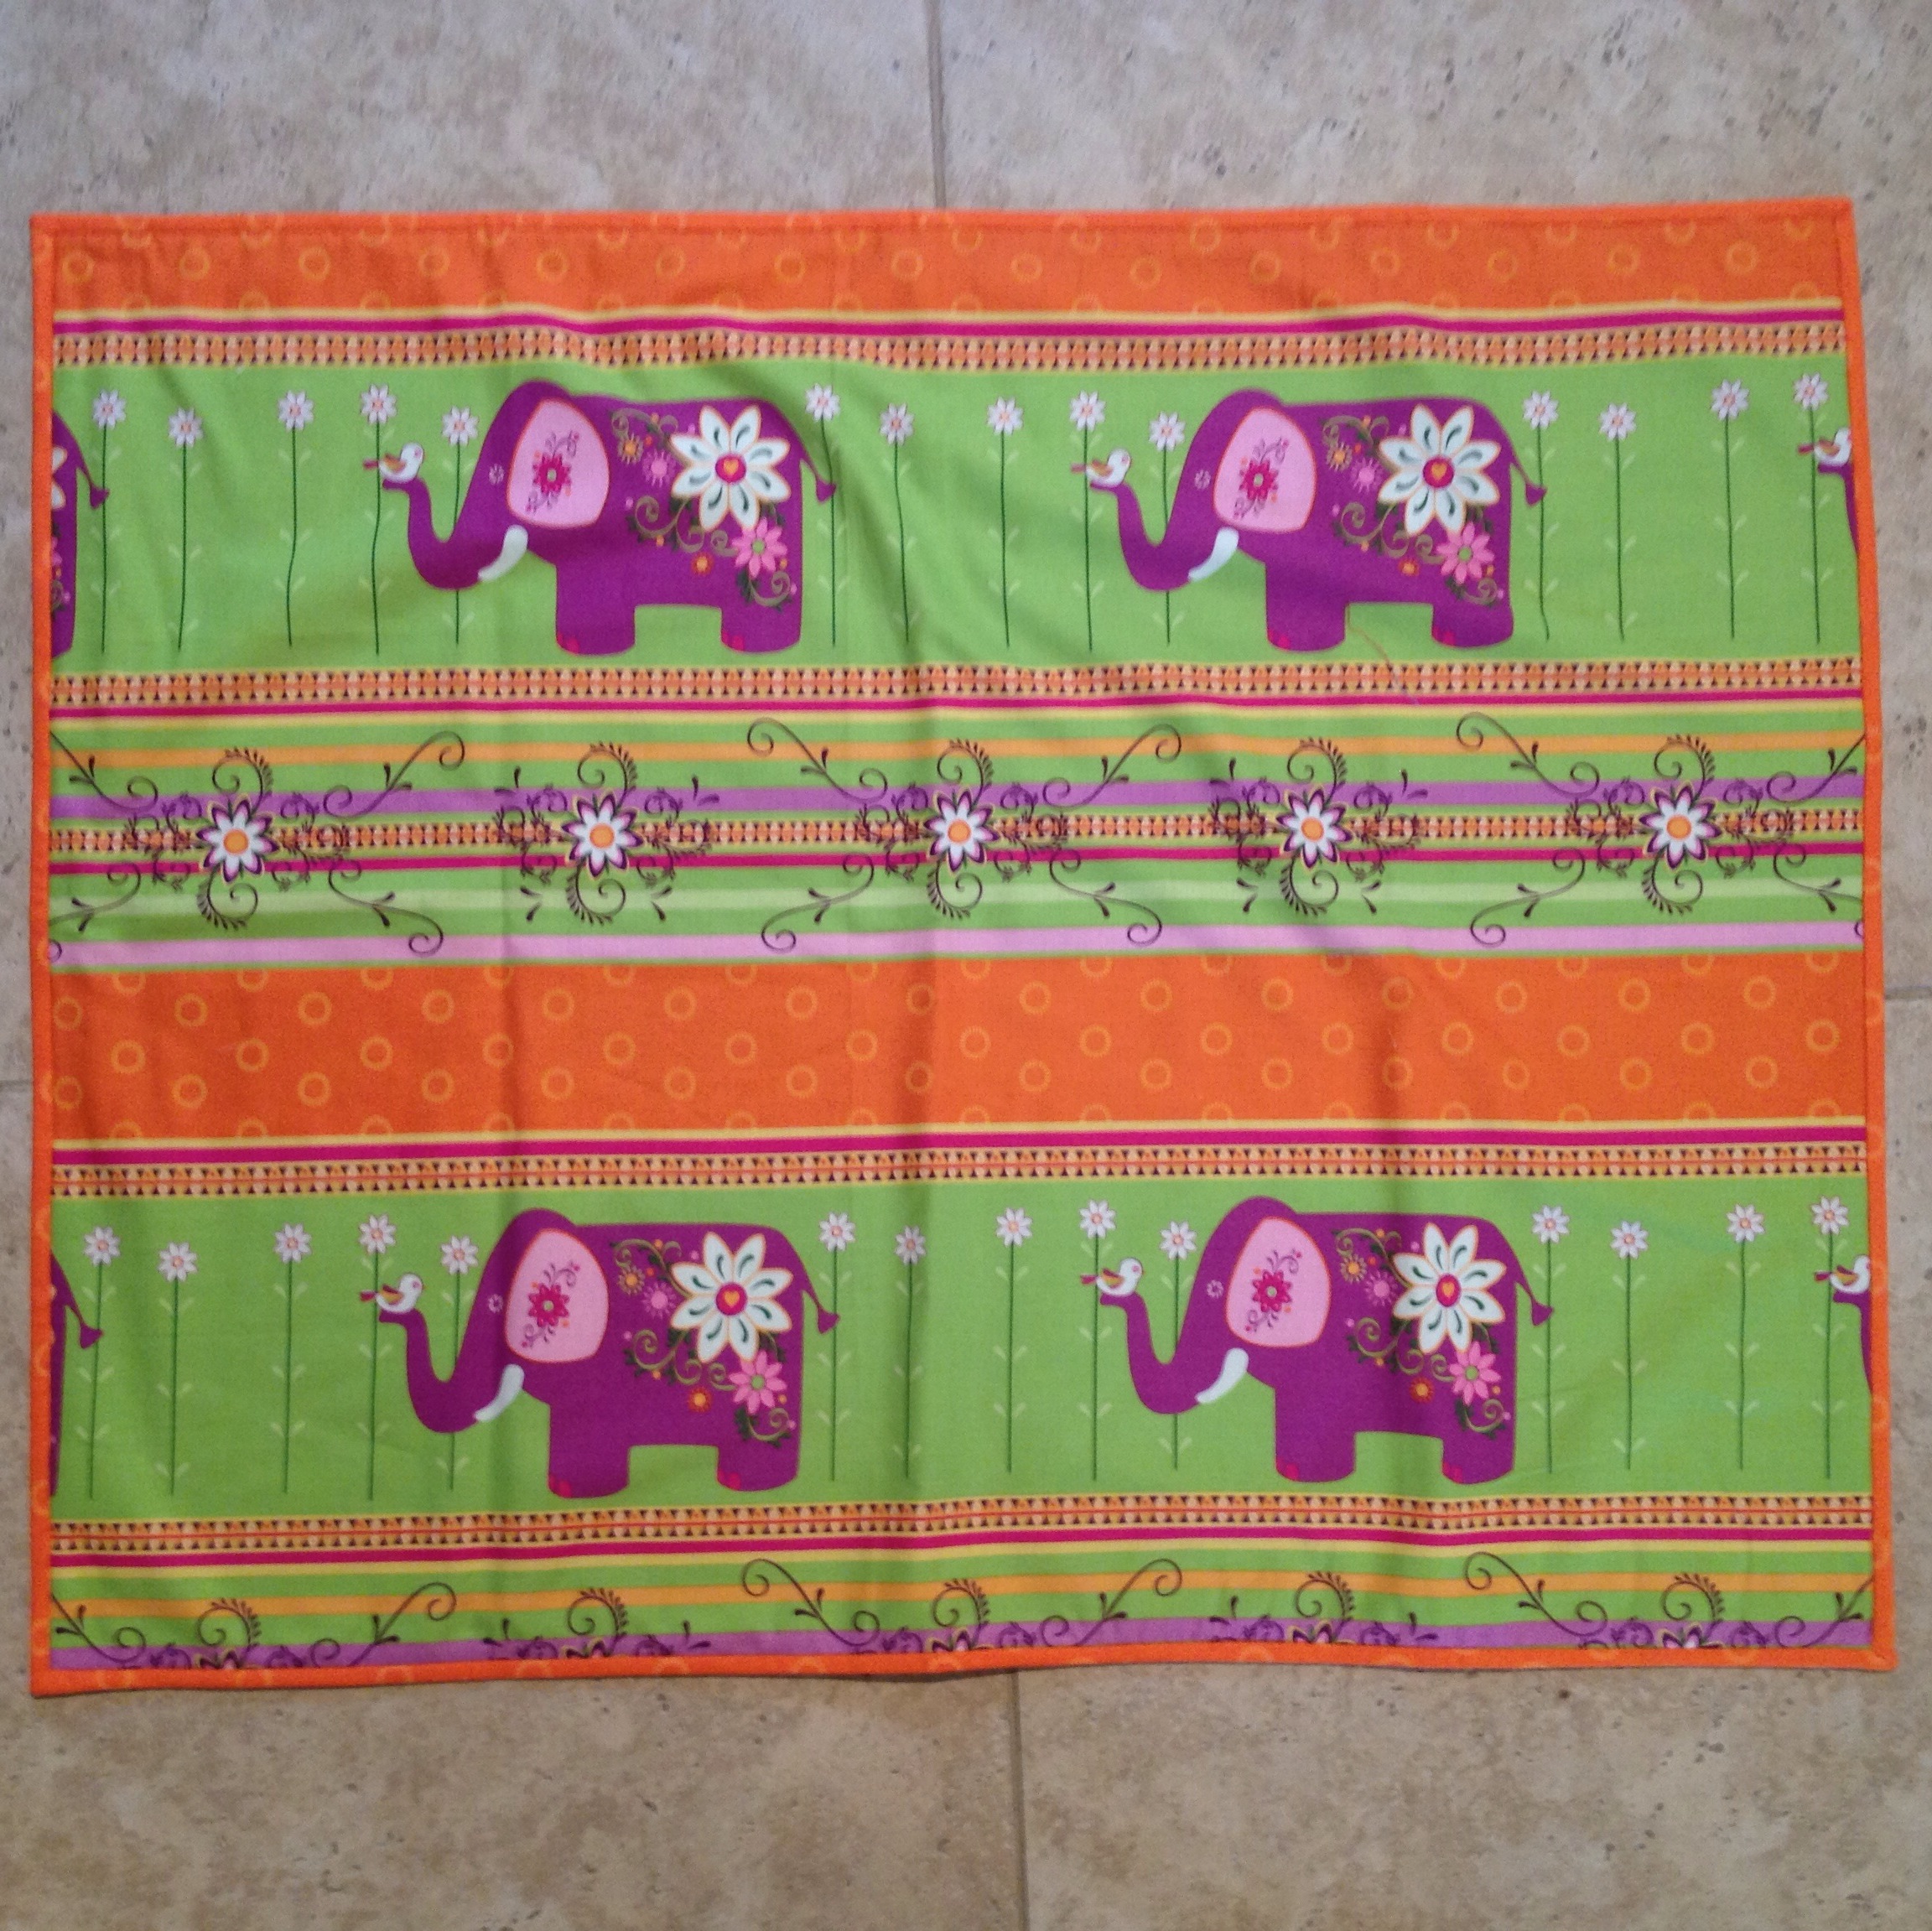
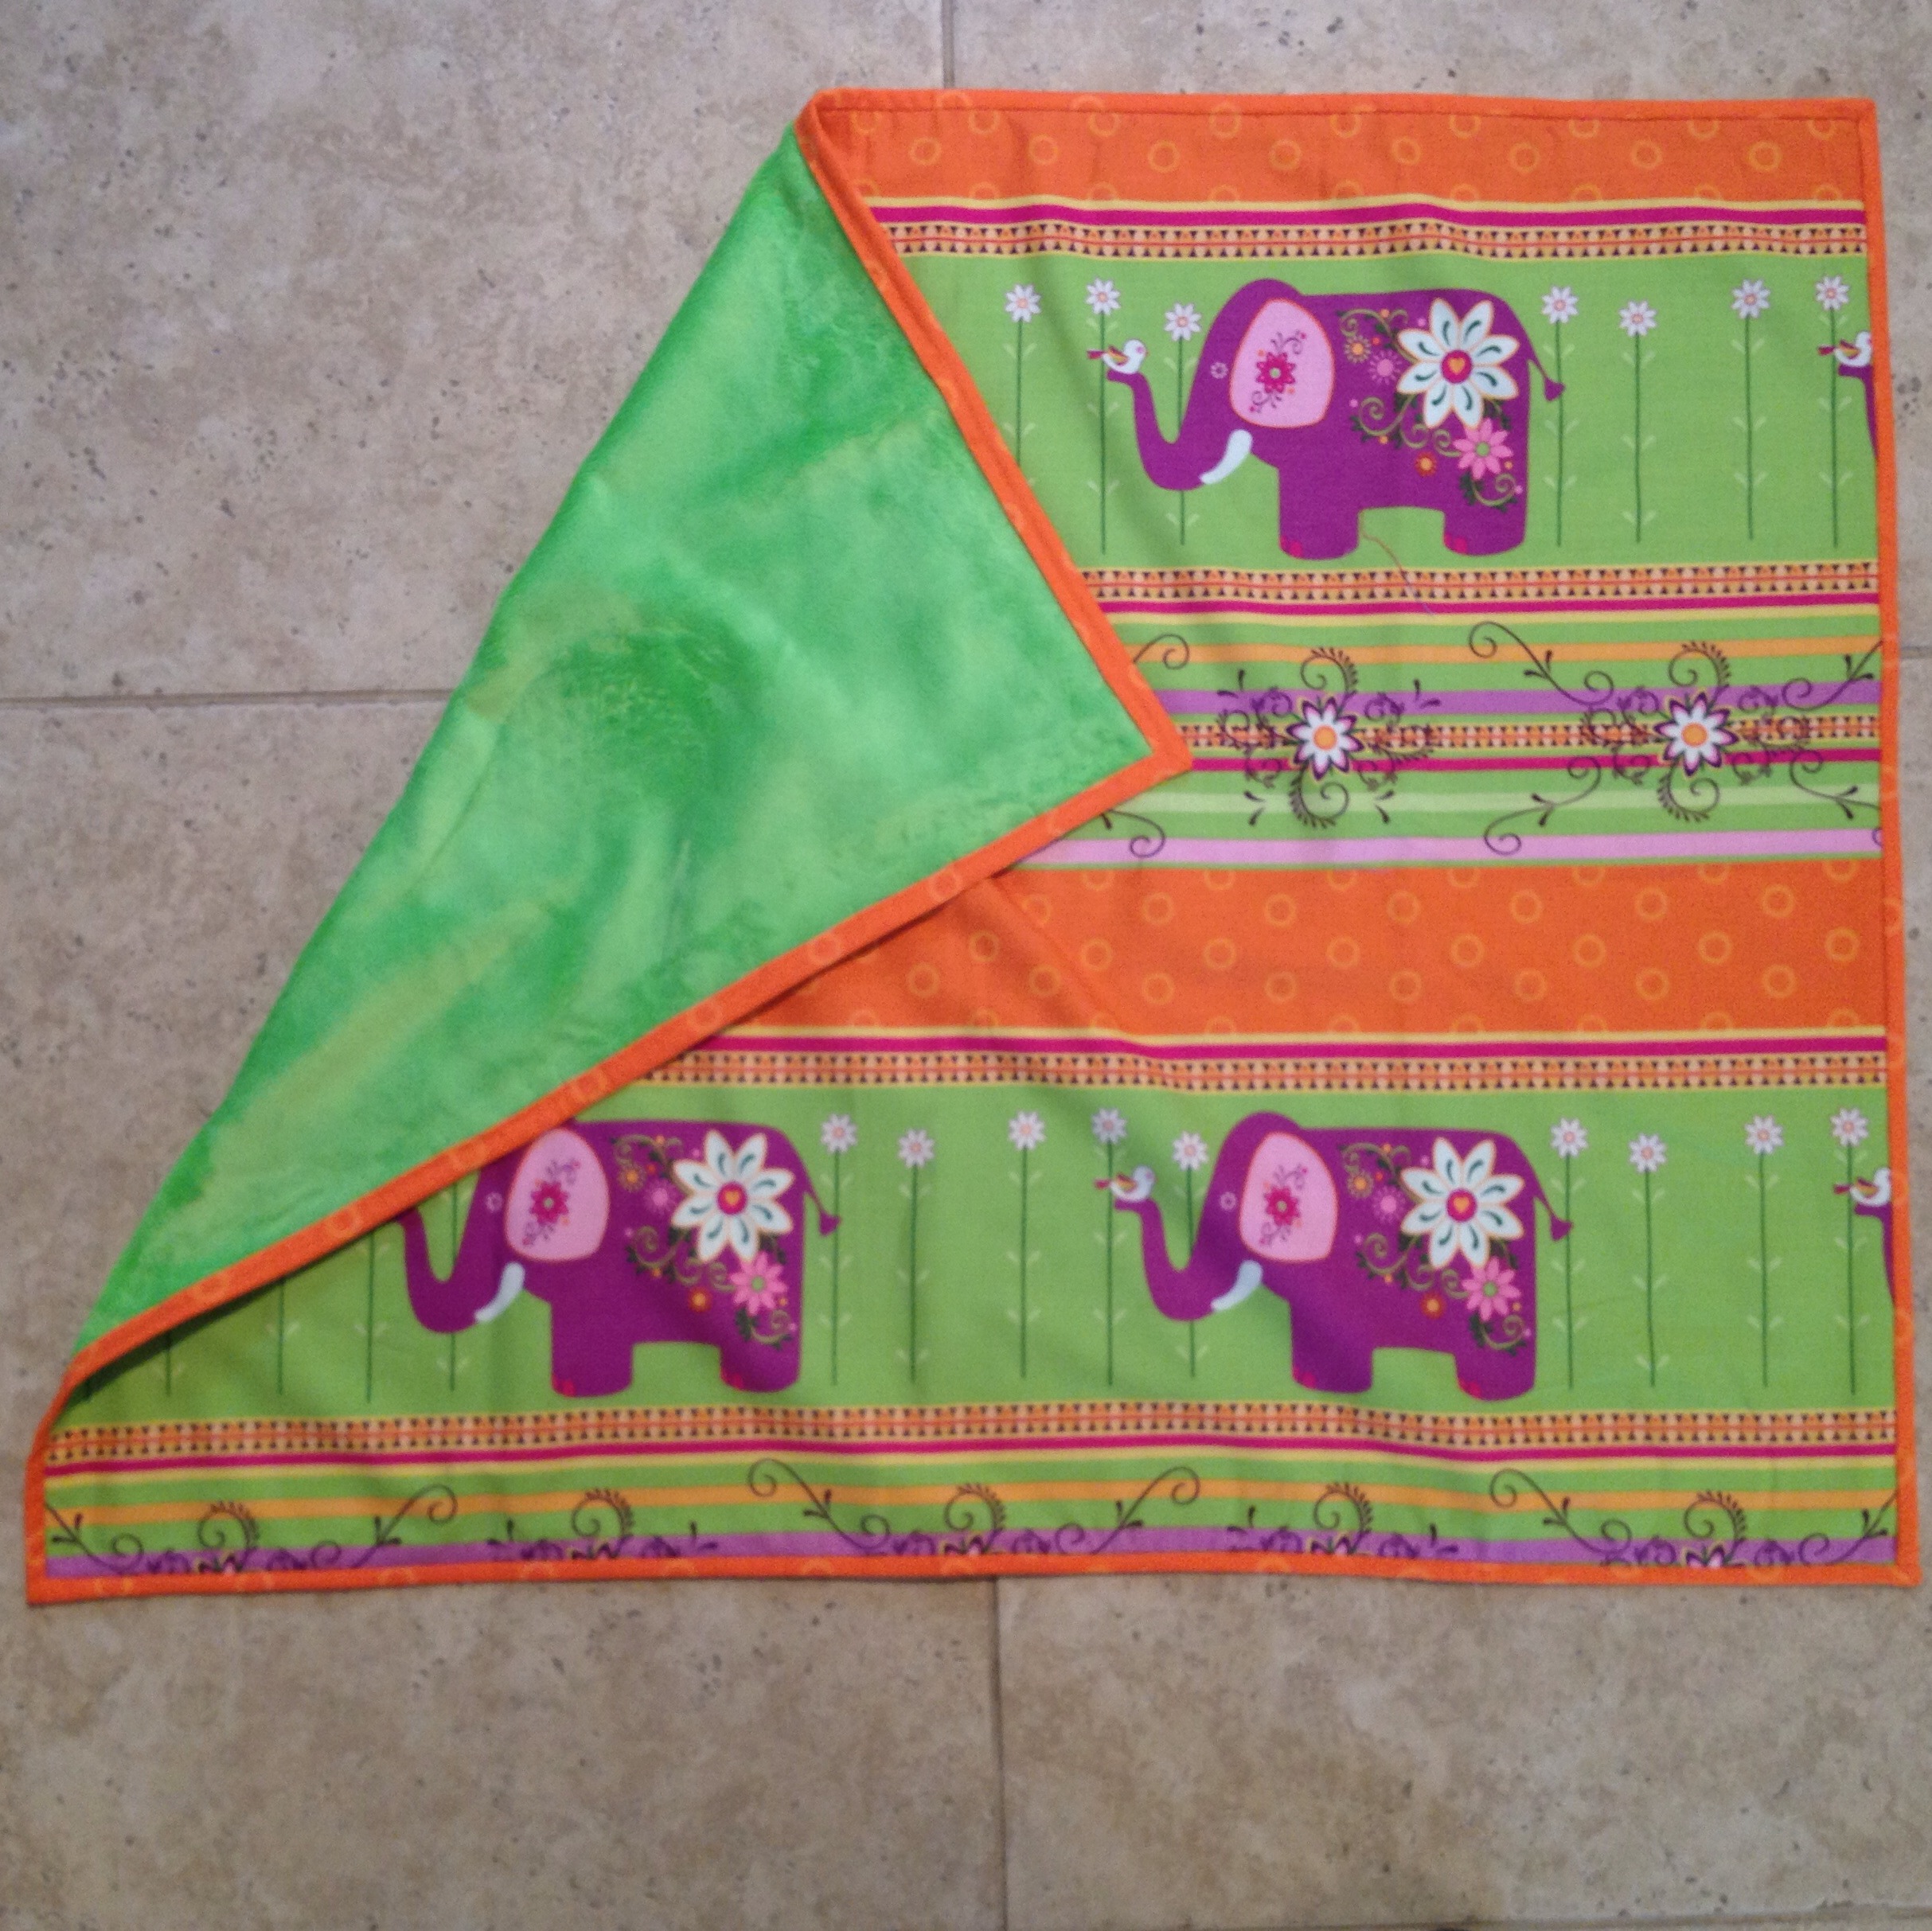
I mentioned in the last post that Fabri-Quilt is going to have/might have it now printed minky to compliment this fabric line. I had intended to have the striped print on one side of these and the printed minky on the other side.
The thing about doing things with BRAND NEW, HOT OFF THE PRESS fabric is that it might not make it to you before you need to sew with it. That was the case here. So, instead of the coordinating elephants, it's a SUPER soft bright green minky.

He's such a big helper.
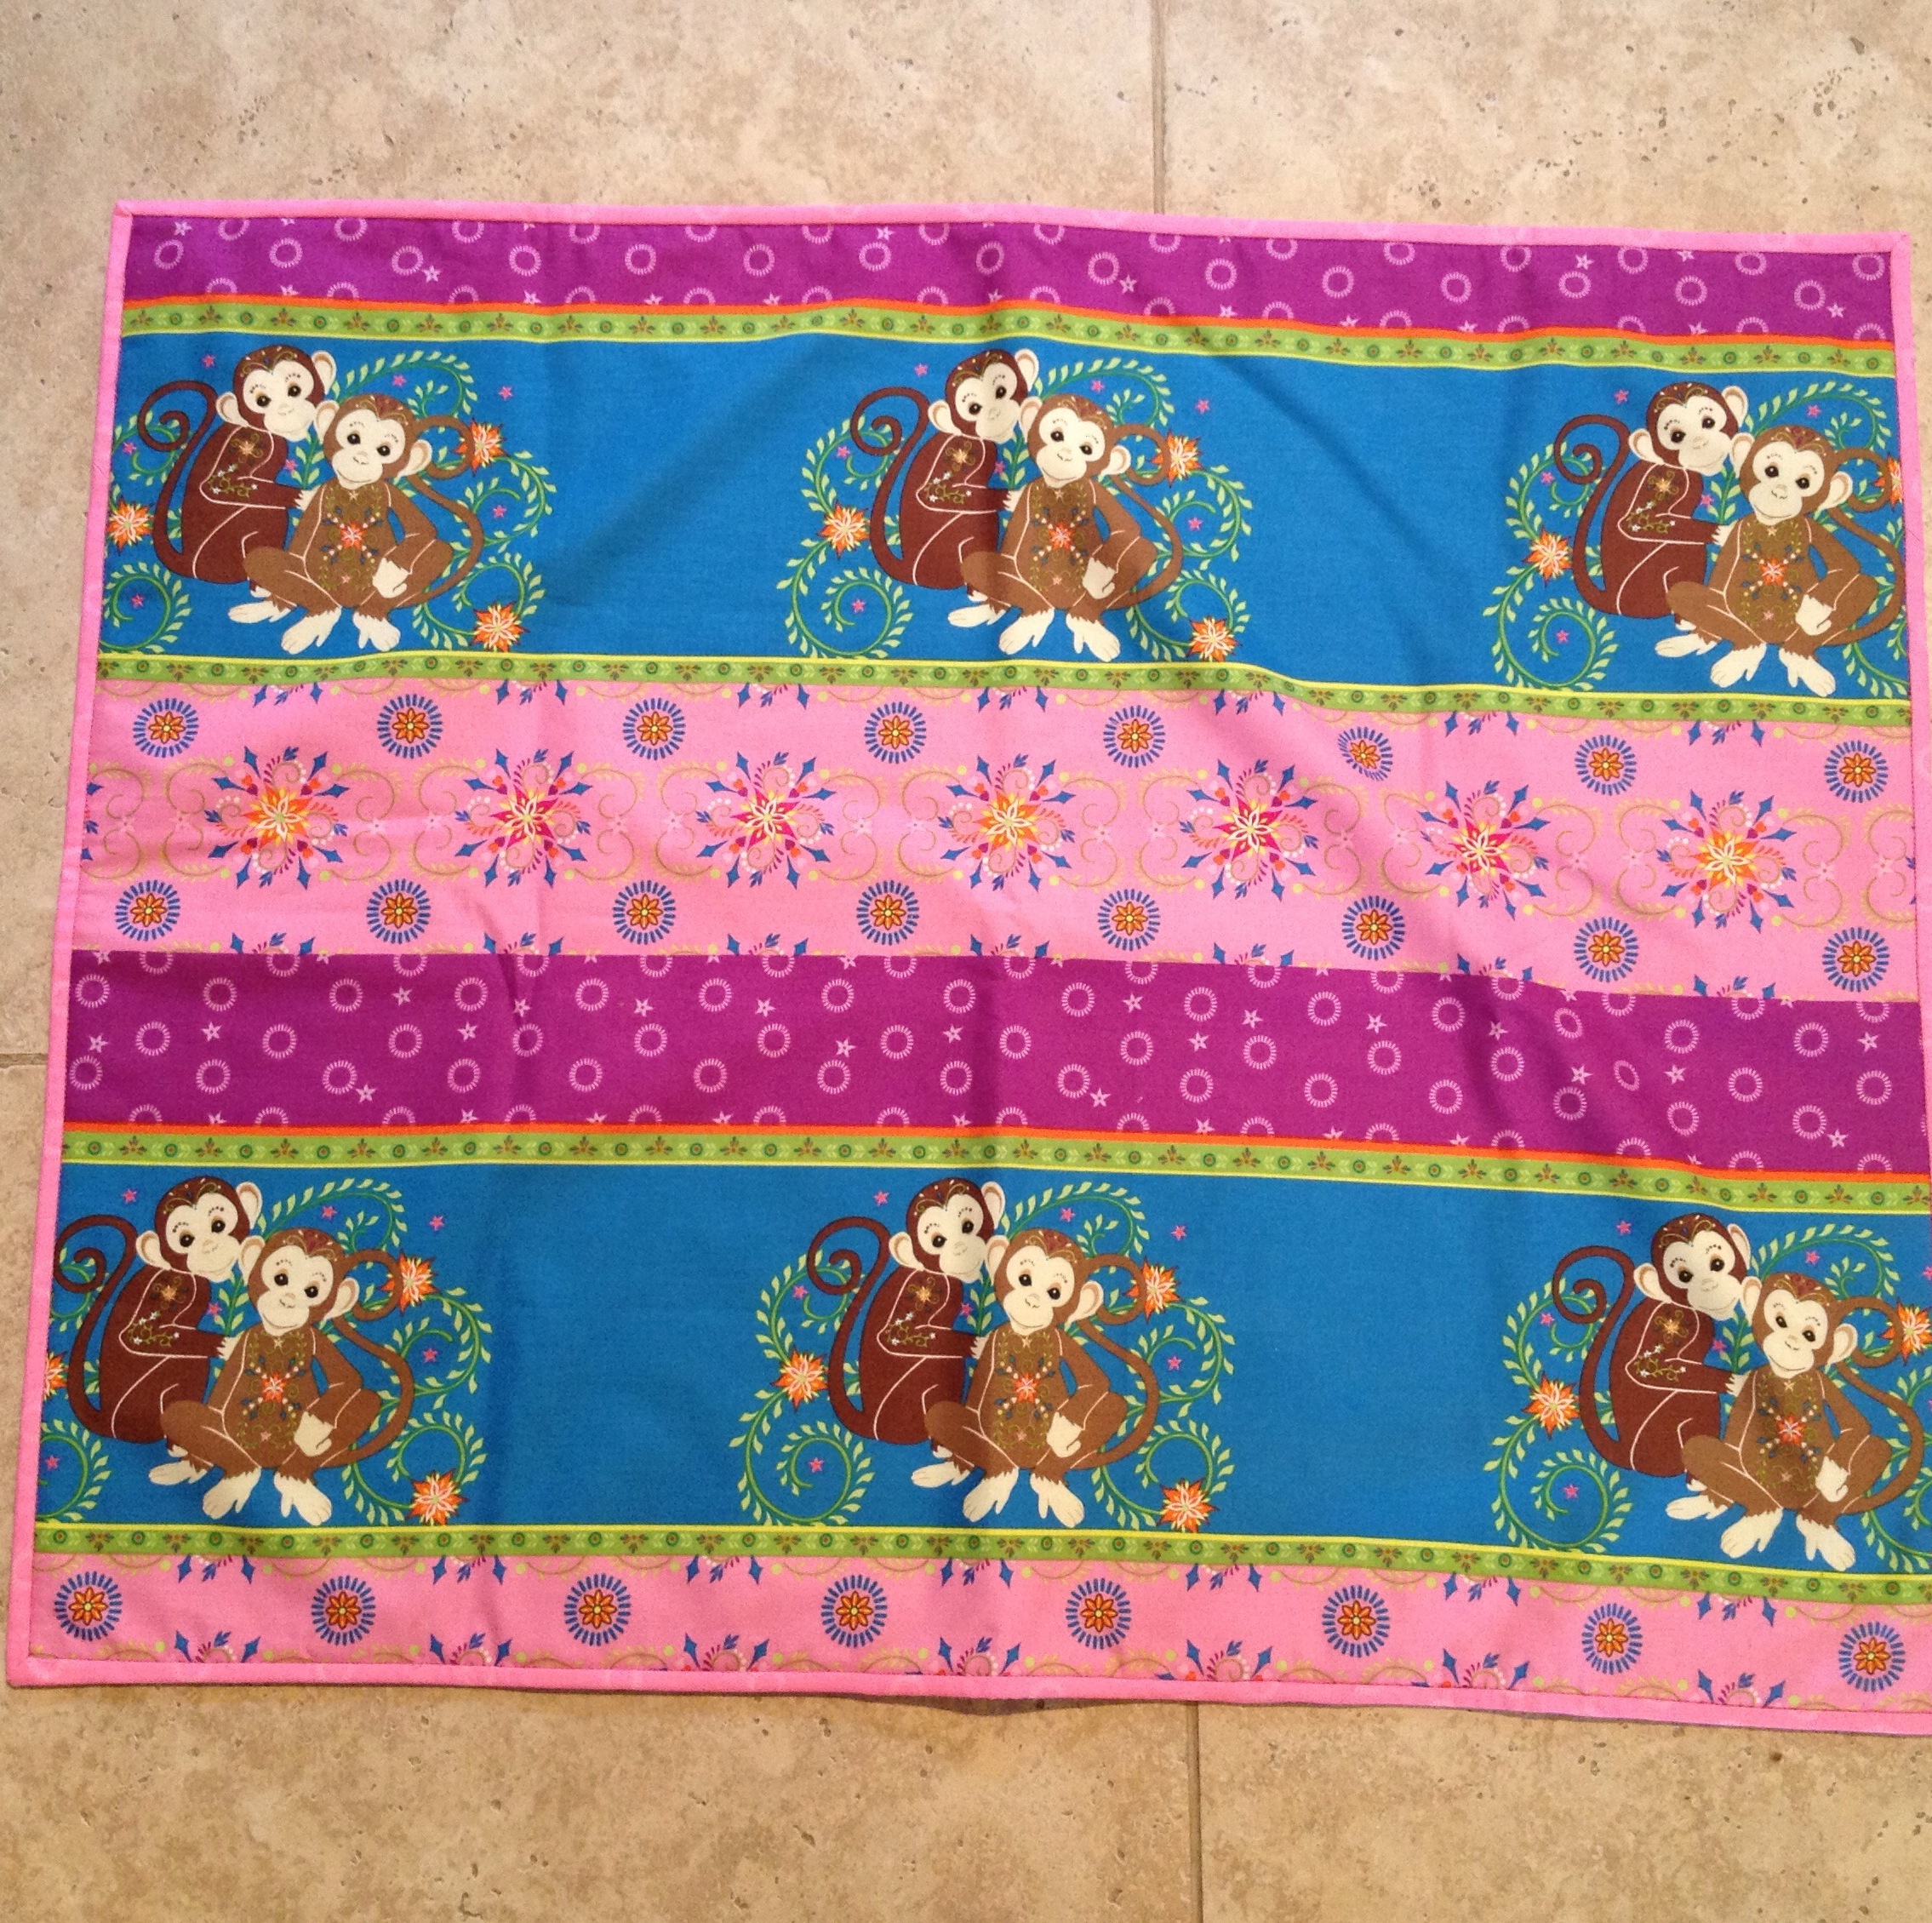
I was going to make another one of these blankets (one for each of the three groups: elephants, monkeys, & bears), but there was only enough of the green minky to do two.

This pattern went together really quick. The secret is ironing. If you sew the binding down on one side, iron it really well and pin it, it's a piece of cake. And I like cake. :)
Pattern: Fuzzy Wuzzy from Sweet Booties!: And Blankets, Bonnets, Bibs & More by ValerieVan Arsdale Shrader
Fabric: Mystic Forest by Fabri-Quilt
-Jessica
Fabri-Quilt kind of went all out with this Mystic Forest fabric line. The whole line is going to be available in regular old quilting cotton. Most of the prints (I believe) are going to be available in flannel. The dots are going to be available in PUL. There are a few complimenting prints that will be available in minky. And they have these cute little panels on a heavier weight cotton.
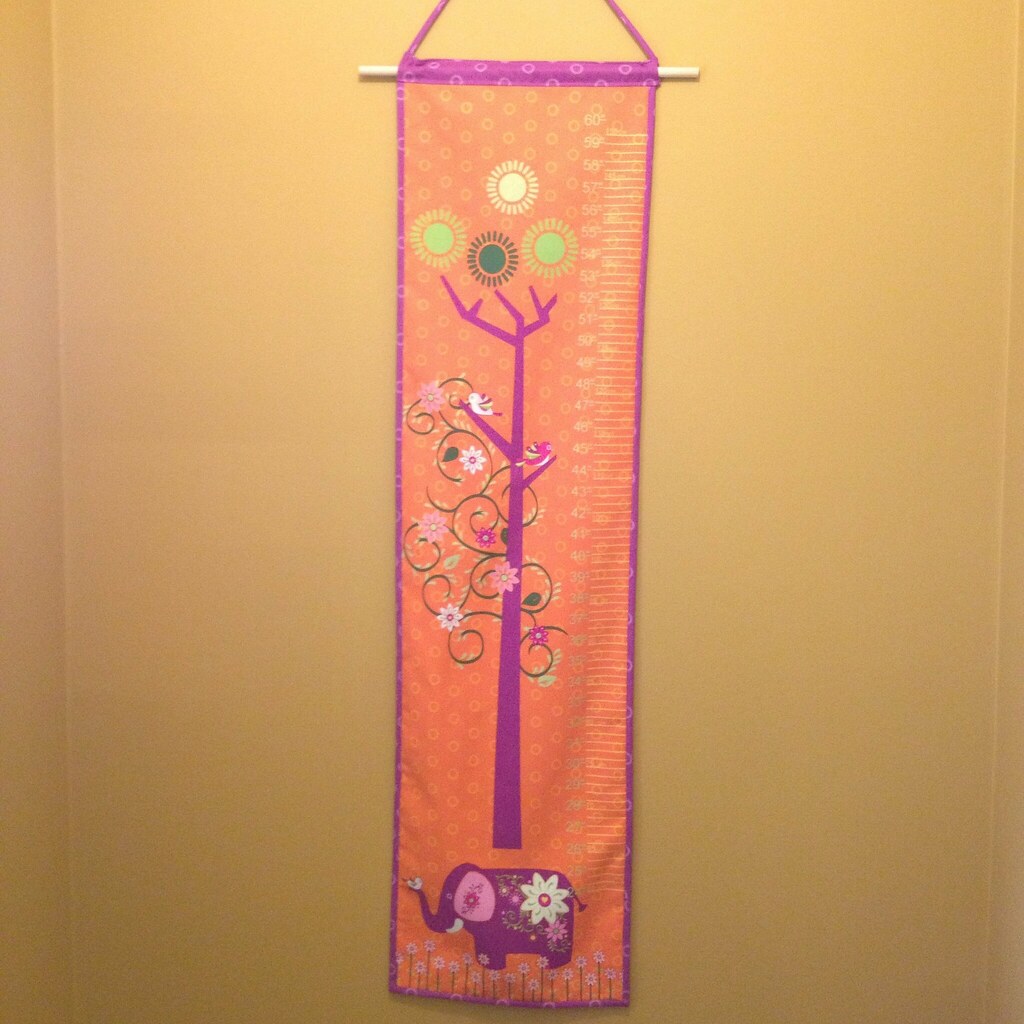
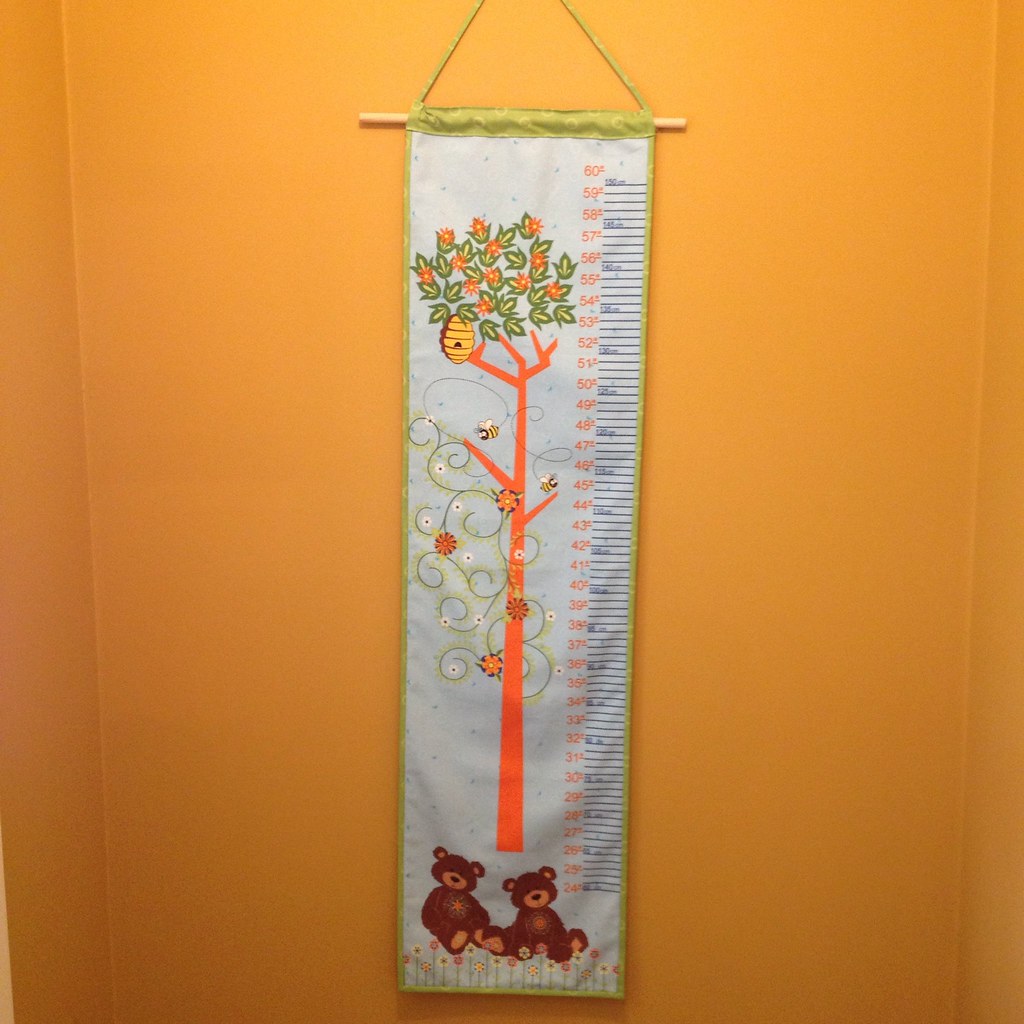
I backed these and put a binding on them. At the top, I added a tube and a loop for hanging at the top. In the tube, I inserted a dowel for a fun look and to help keep the panel open. Fabric things like this have a tendency to flop closed when you don't support them well.
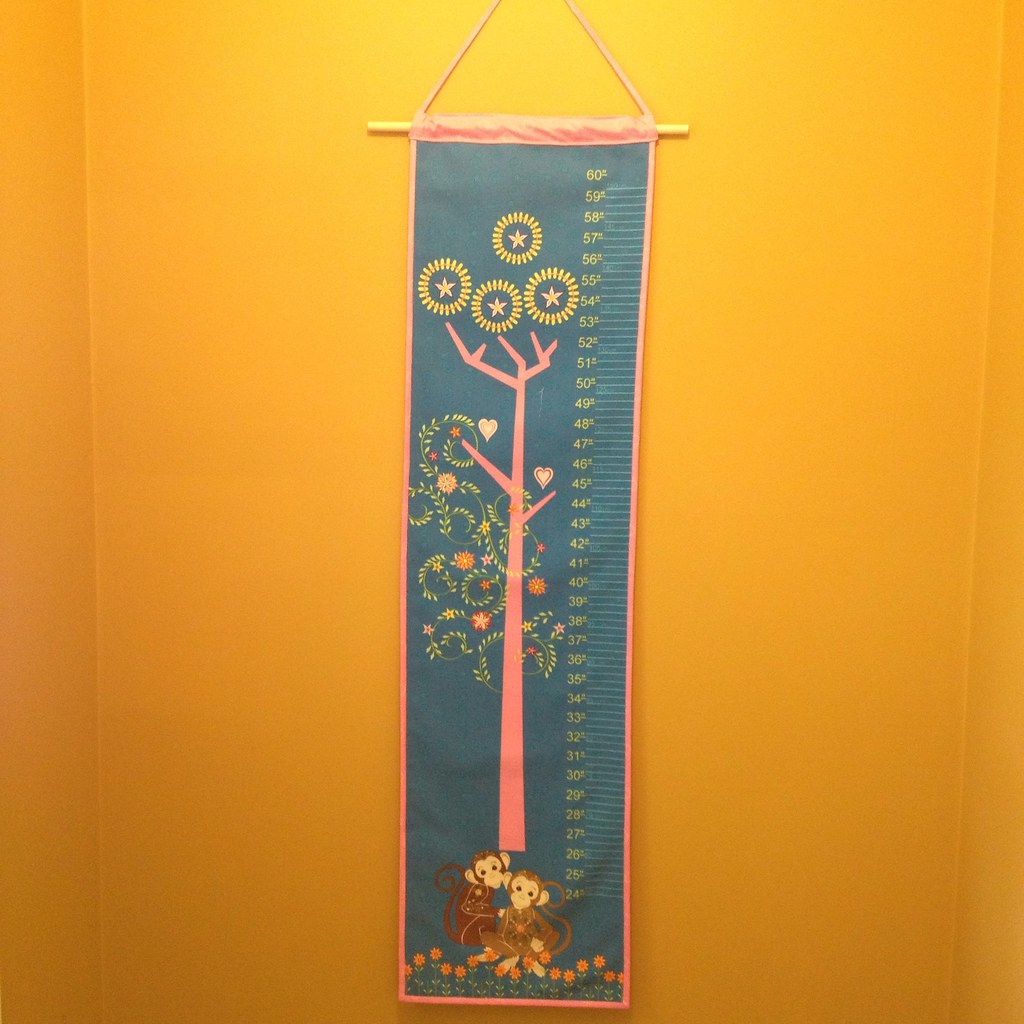
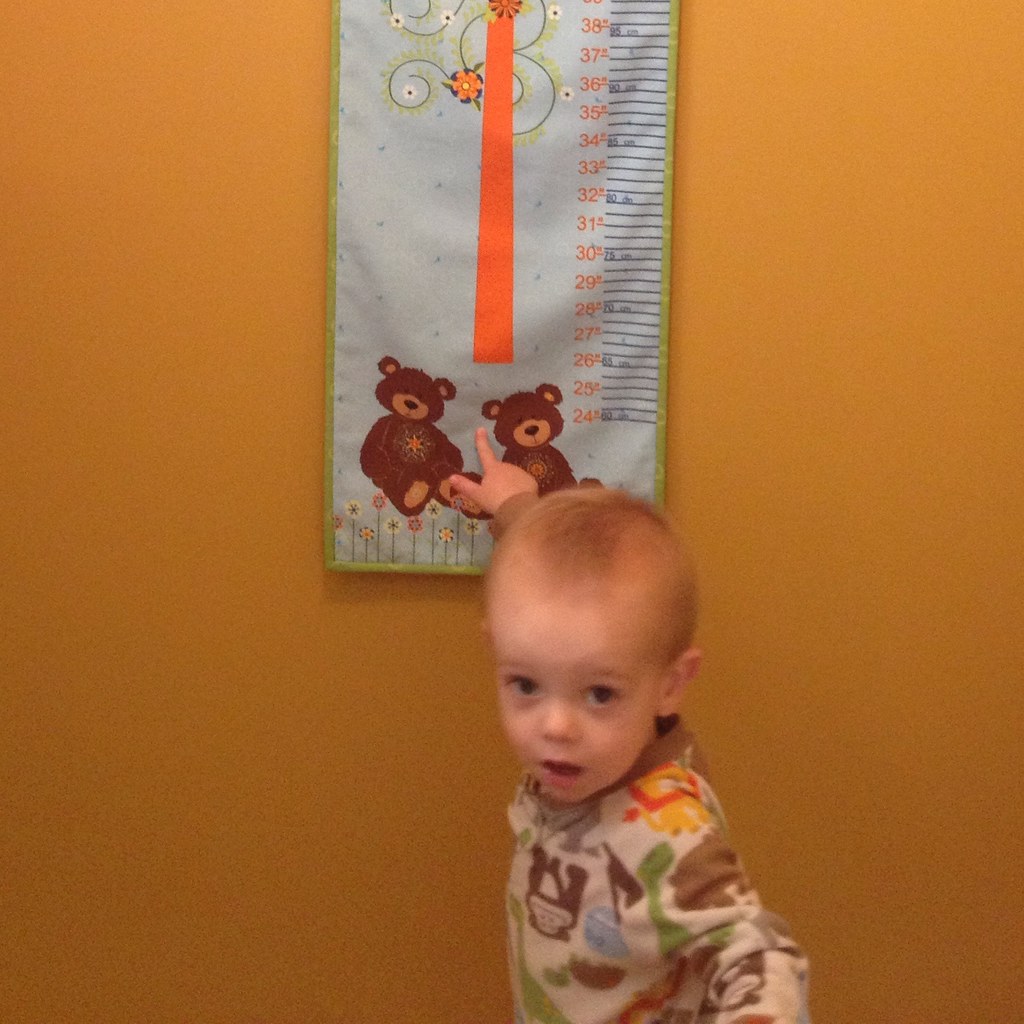
Is my little guy adorable or what? I hung this up on the wall to snap a quick photo of it and he runs over to point to the bear and say "RAWR!" We're still at the stage where he says the sound the animal makes instead of what the name of the animal is. It's cute. We have arfs (dogs) , rawrs (bears, lions, tigers, etc.), vrer (elephants), qua (ducks), and a few others I can't think of right now. It's such a fun age.
But, back to our regular scheduled programming... These were a panel that I turned into a growth chart, so...
Pattern: No pattern used.Fabric: Panel from Mystic Forest by Fabri-Quilt
And I side note if you plan on making something similar to this growth chart... I got an adorable panel like these with sheep standing on top of each other for my little guy. I quilted the heck out of it and put it on the back of his door. My husband then decided to measure it. Crap! It shrunk about 2 inches. So, a word to the wise... Quilting shrinks things. Quilting shrinks things A LOT. If you plan to quilt something to make it a growth chart, perhaps it would be wise to add the measurements after quilting.
-Jessica
We are on again, off again cloth diaper users in this house. I love putting cloth diapers on my baby. I love how cute they are. I love how we save money by using them. I love how we aren't using icky chemicals on some of his most sensitive parts. I don't really mind washing diapers. I LOVE how convenient disposable diapers are. That's pretty much the gist of it. If I could buy my ideal stash of diapers and not worry about forking out a small fortune for them, we'd do it full time, all the time in a heart beat. But, because we are a budget-conscious family, we cannot fork over our body limbs to pay for baby undies. I REALLY, REALLY, REALLY love the fluff, though.
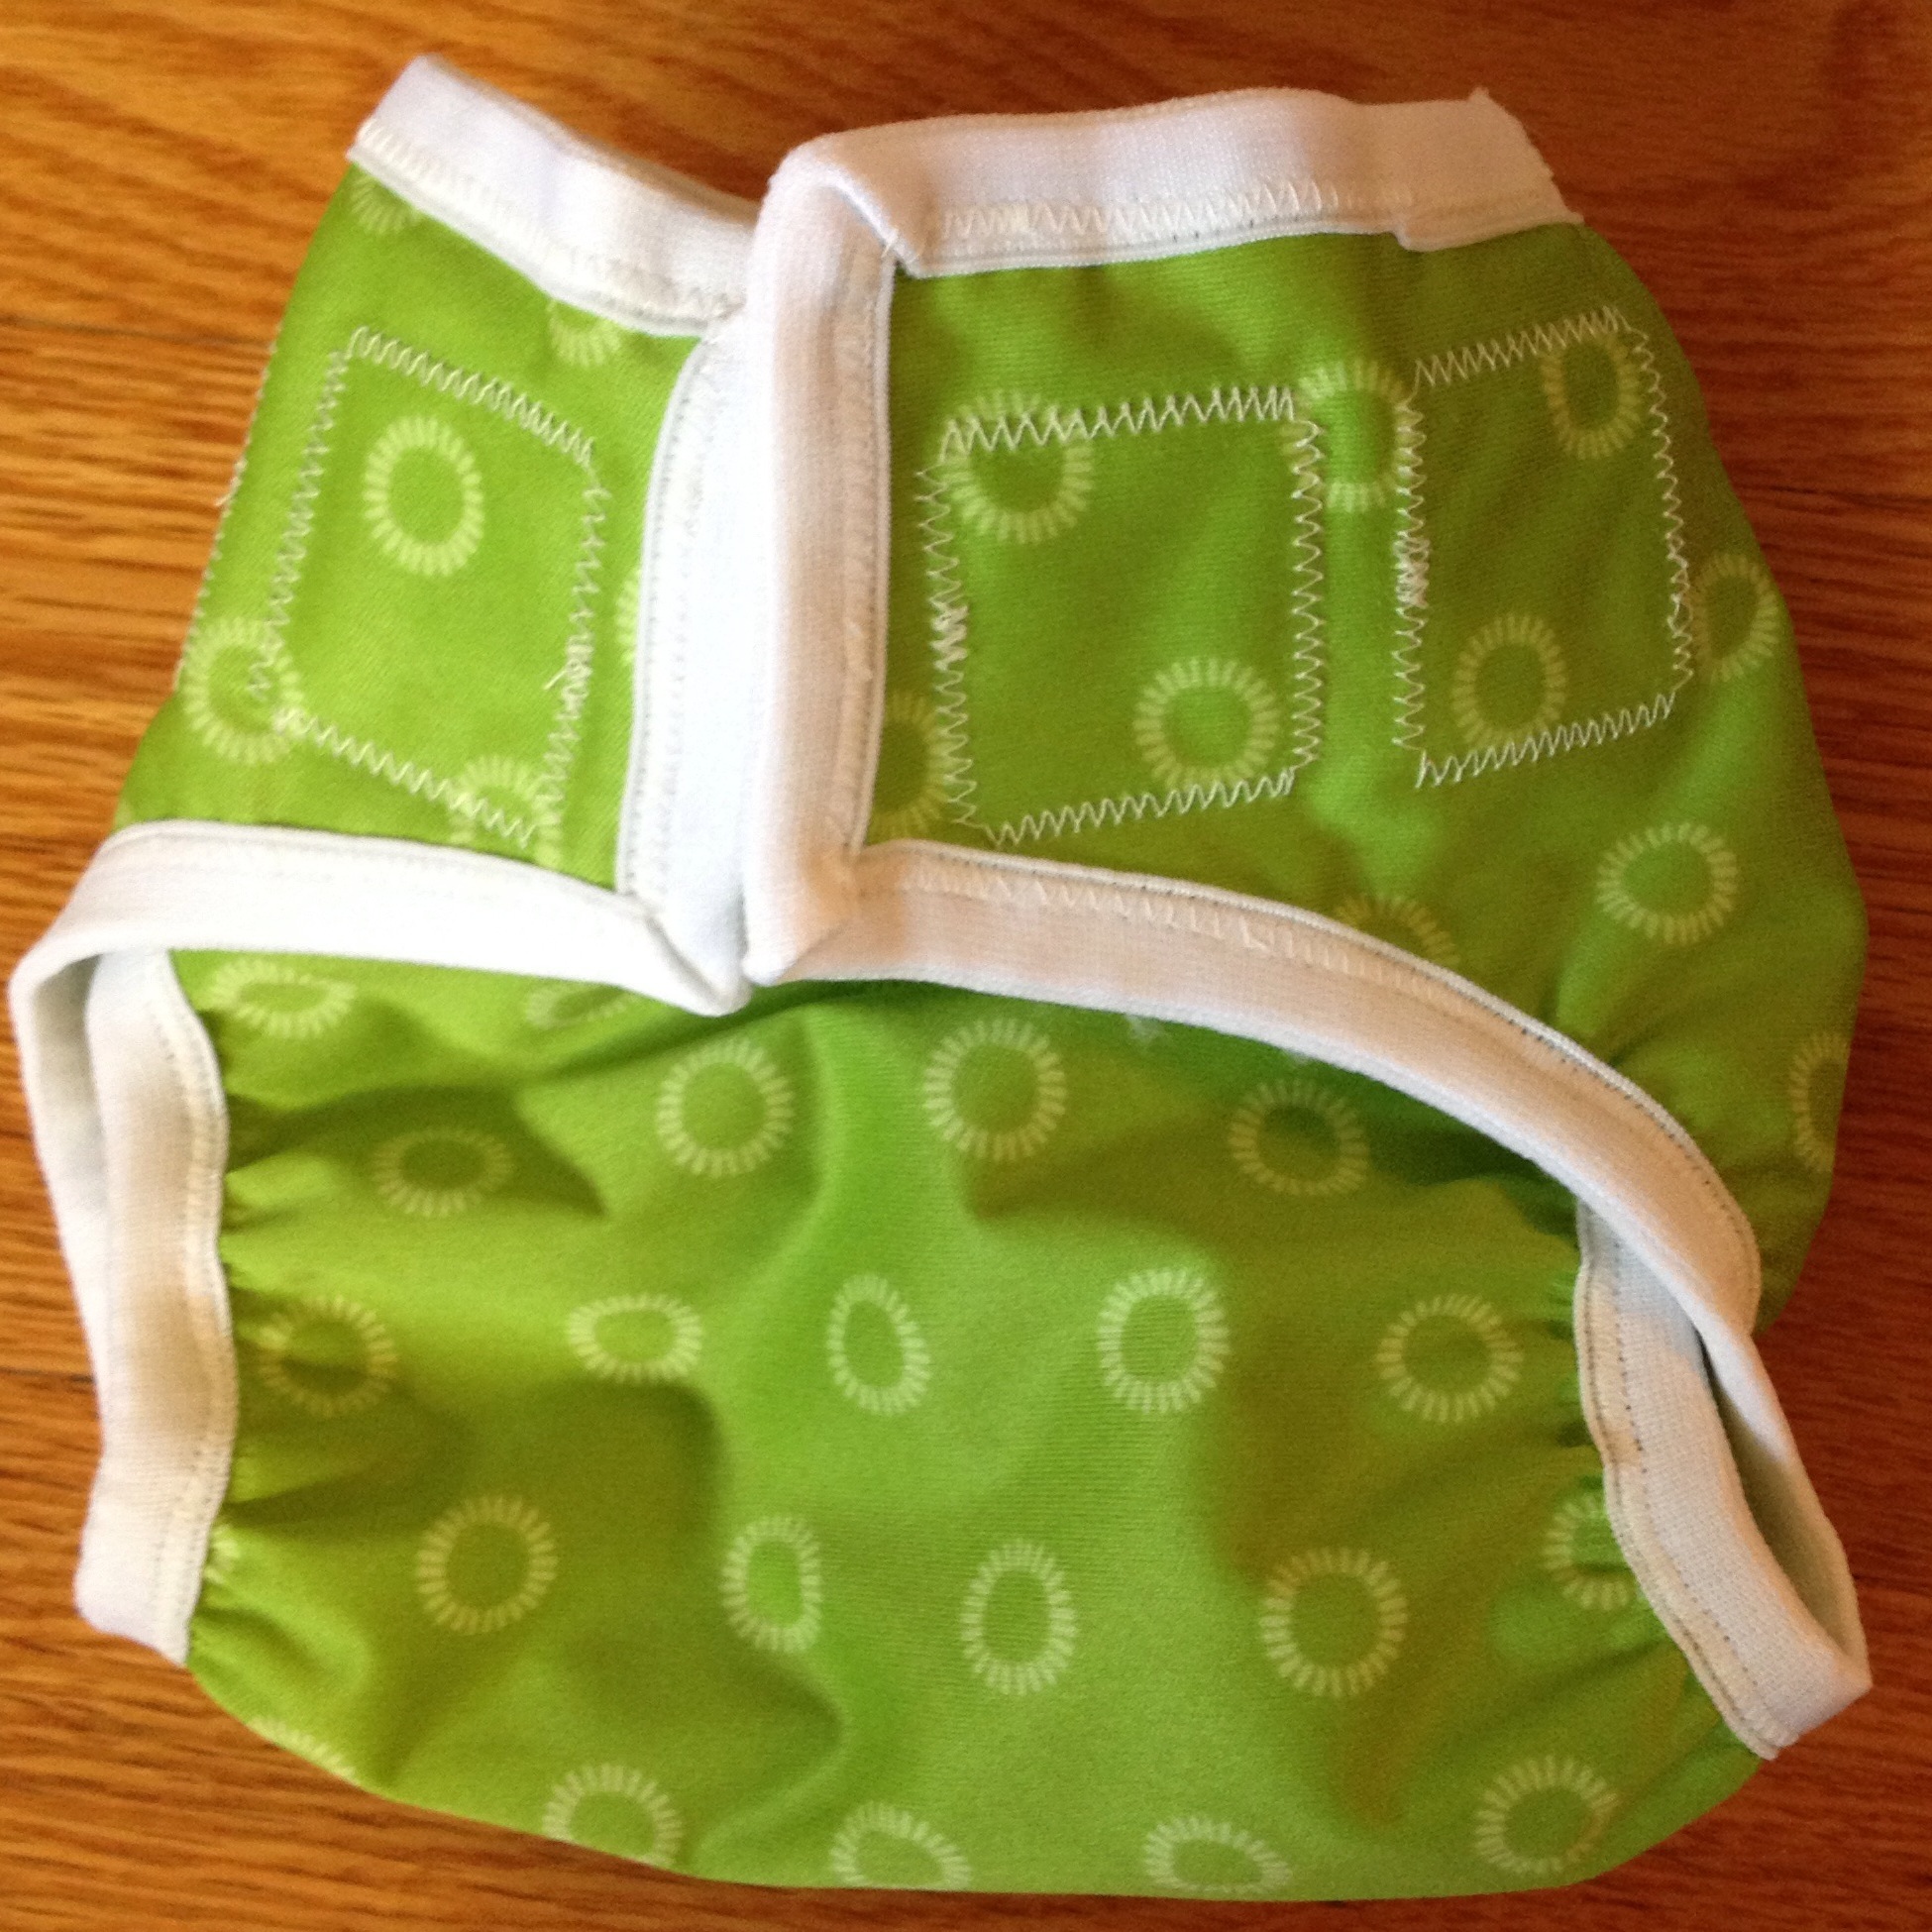

And Fabri-Quilt is coming out with a new printed PUL that they let me make some cute diaper covers for them out of. They have this dot print on a variety of colors. I made three diaper covers in three of the new colors.
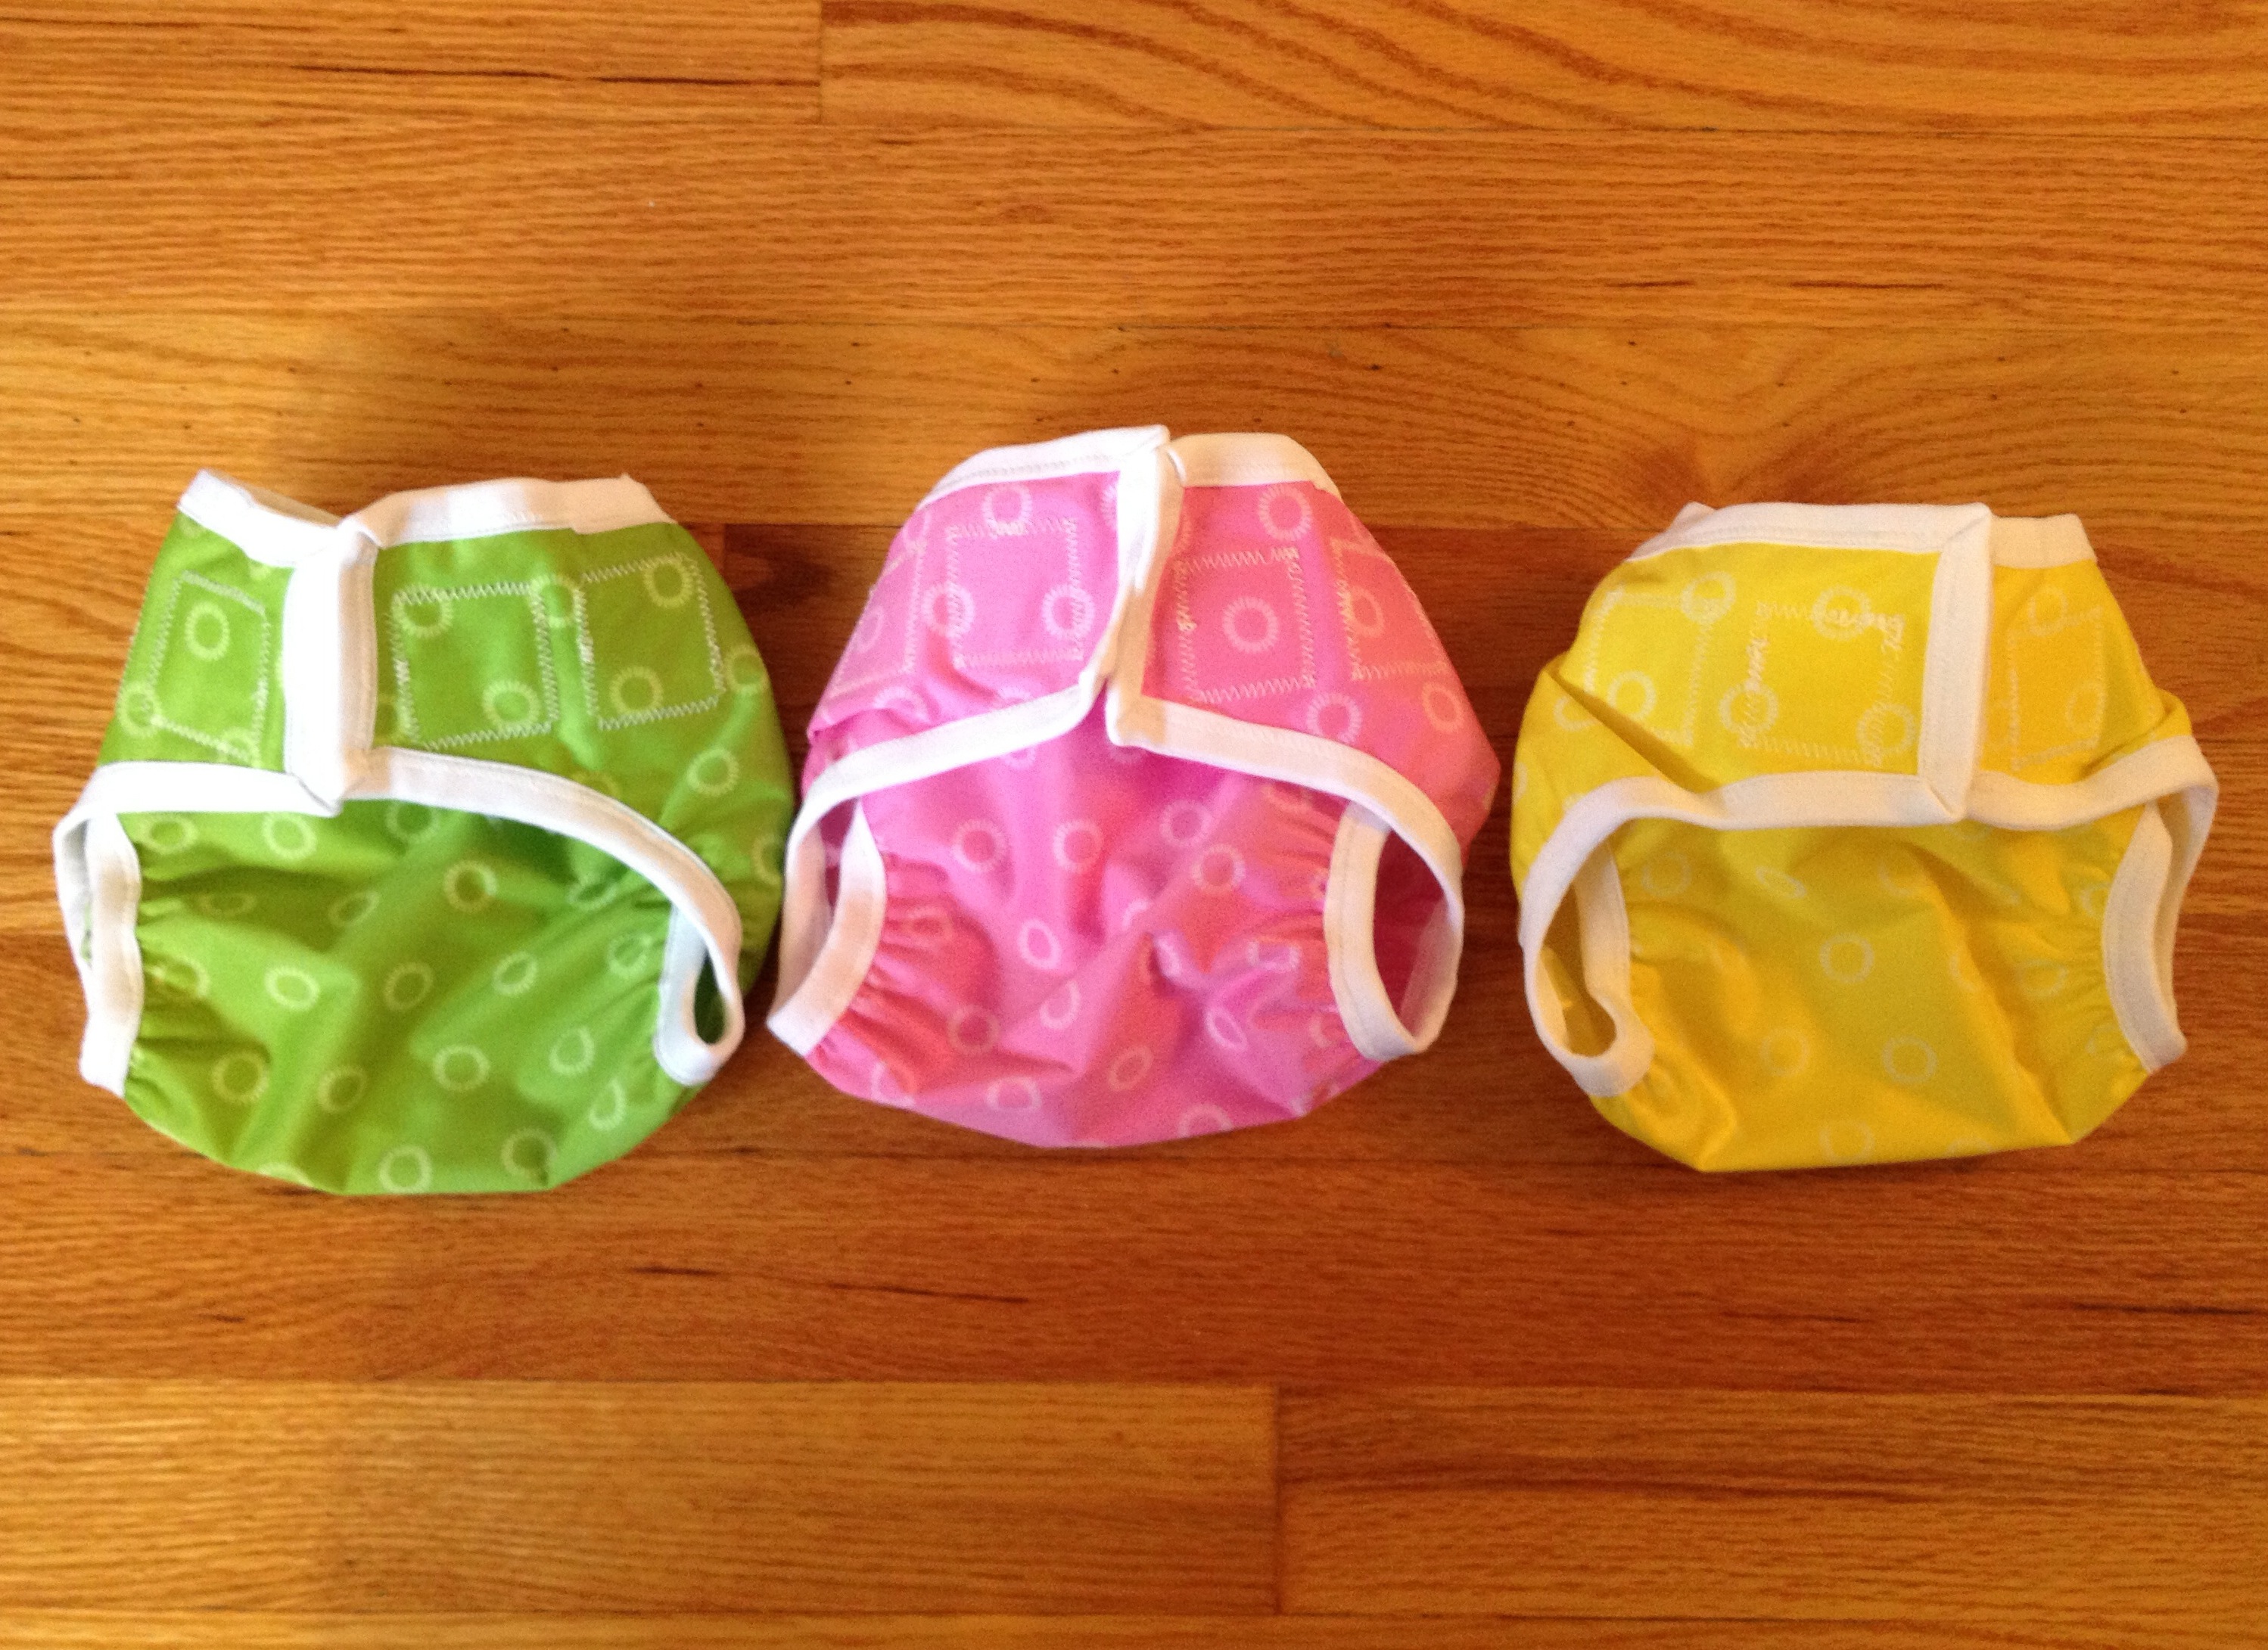
Are they adorable or what?! Super easy to make, too! If you're a fluff-aholic and want to make your own covers, I love this pattern. I made it in a small for Daniel when he was a little bit teensier and it fit really well over a prefold with snappi.
Pattern: Diaper Cover from Cloth Diapers Made Easy by Babyville Boutique
Fabric: Mystic Forest in PUL by Fabri-Quilt
-Jessica
Have you ever tried to photograph a bath robe? It's hard. Have you tried to photograph a bath robe on a toddler? It's hard to.

When you try to photograph hard things, this is what happens. Blurry photos of a toddler excited about wearing something new while running through the house.
But, that's besides the point. The point is I made a bath robe. I think it's adorable. It's out of white terrycloth with orange cotton on the inside. Have you made a bath robe? Why are the two layers separate at the bottom? I looked at my bath robe after completing this project (that called for the two layers to be separate at the bottom) and I got curious. I didn't end up finishing that way because I felt like the two layers were hanging kind of funky together, so I ended up folding them over and top-stitching them together, but it made me wonder... why are they like that?
Pattern: Little Lounge Around by Favorite Things
Fabric: White Terry cloth & Mystic Forest by Fabri-Quilt
-Jessica